Egress Window Installation: What to Expect From Start to Finish
The excavator started at 7:30 on a Tuesday morning. By 9:00, the hole was open — 5 feet deep, 6 feet wide, exposing 4 feet of poured concrete foundation wall that had been buried since the house was built in 1972. The concrete was 8 inches thick, smooth on the interior face, rough and soil-stained on the exterior. The diamond saw operator arrived at 9:30 with a track-mounted wall saw, a water line, and a slurry vacuum. By noon, the opening was cut — a precise rectangle, 46 inches wide by 38 inches tall, with clean edges and exposed rebar ends trimmed flush. The concrete block that came out of the wall weighed just over 400 pounds. By Thursday afternoon, the egress window was installed, the well was in place, the drainage was connected, the interior was framed and trimmed, and the exterior was backfilled and graded. Friday morning, the building inspector signed off.
That timeline — Tuesday through Friday, with the inspector on Friday — is typical for a concrete foundation egress installation in Portland. The project moves through a defined sequence of phases, each with its own tools, its own trades, and its own inspection points. Knowing what each phase involves, what it looks like on site, and how long it takes helps homeowners plan around the work and understand what they are paying for.
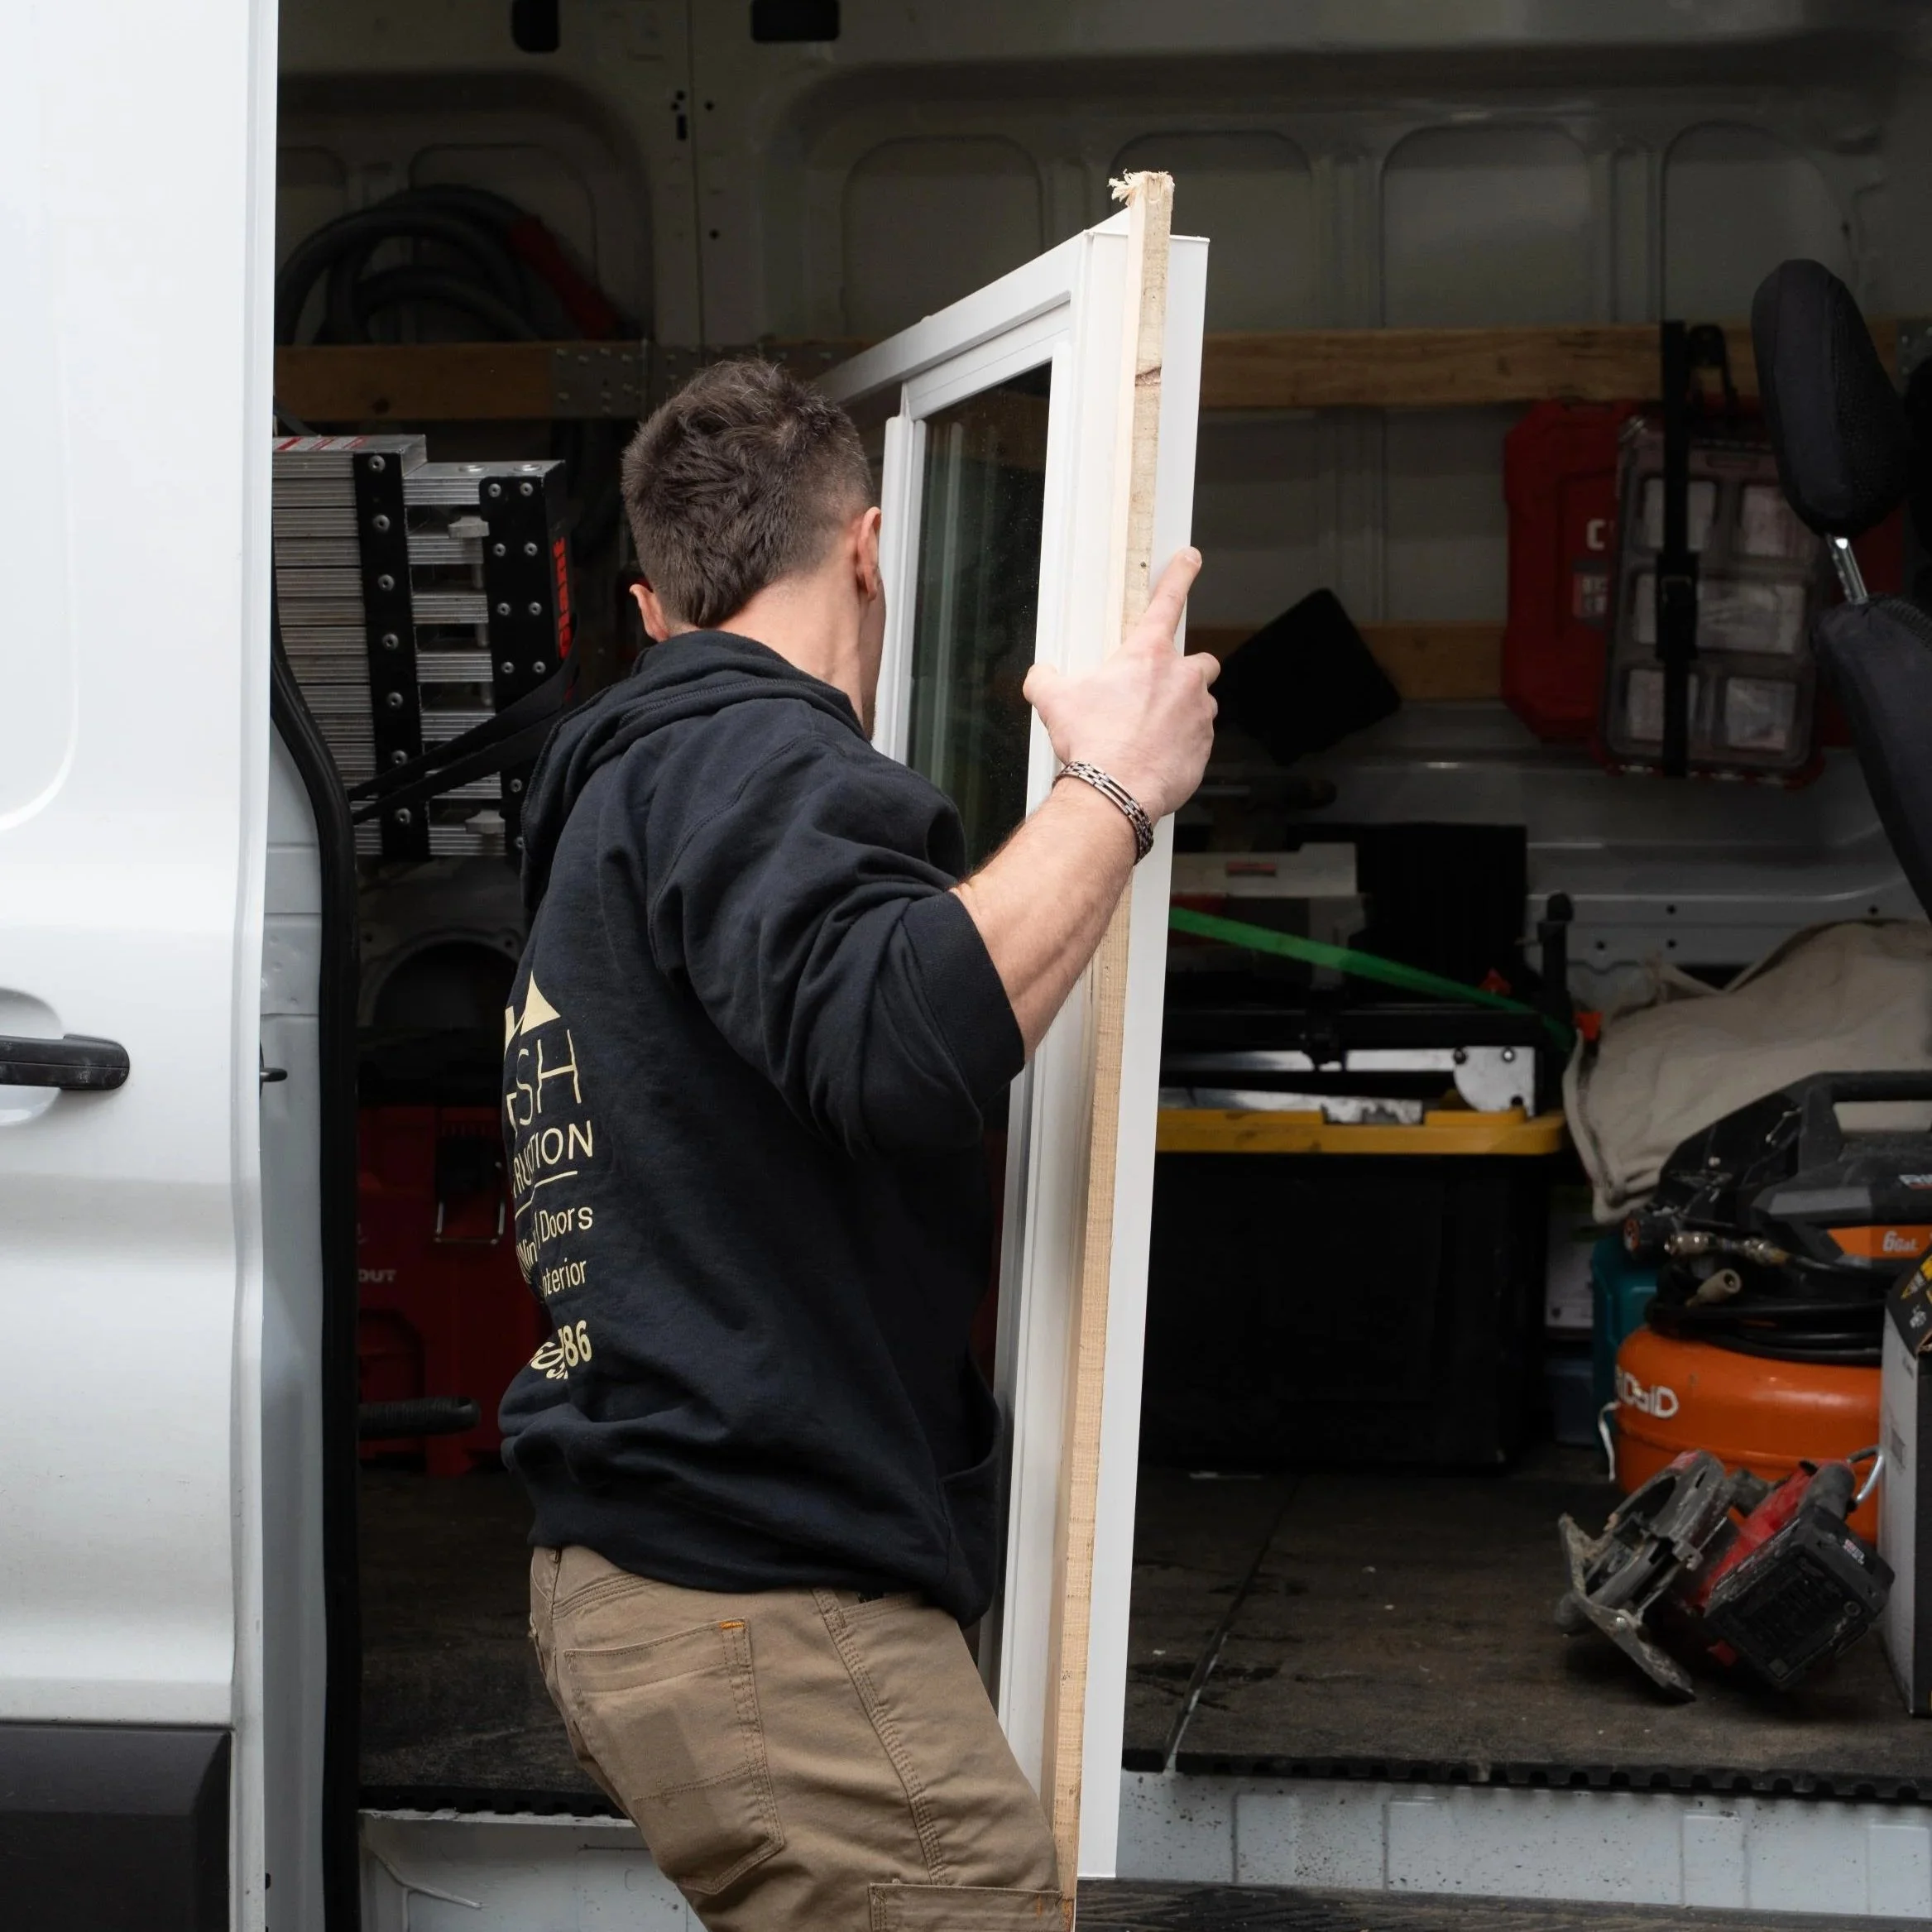
Contractor carrying newly installed egress window from service van while preparing basement renovation, foundation cutting, drainage, and permit compliance.
Phase 1: Assessment and Planning
The project starts before anyone picks up a tool. The assessment phase determines the scope, the cost, and the feasibility of the installation.
Foundation evaluation. The contractor inspects the foundation wall — from the interior and, if accessible, from the exterior — to determine the foundation type (poured concrete, CMU block, brick, or wood-frame), the wall thickness, and the condition of the concrete or masonry. For poured concrete, the contractor looks for signs of cracking, deterioration, or prior repairs that might affect the cutting. For CMU, the contractor checks the mortar joints and block condition. The foundation type determines the cutting method, the equipment needed, and the cost.
Window location selection. The egress window location must satisfy several constraints simultaneously. The sill height must be no more than 44 inches from the finished basement floor. The window must be positioned where the exterior grade allows for a window well of adequate depth. The opening must avoid existing utilities — electrical panels, plumbing stacks, HVAC ductwork, water heaters — both inside and outside the foundation wall. The location must account for the foundation's structural load path — avoiding areas where concentrated loads from above (bearing walls, beams, posts) would be compromised by the opening. On homes with multiple potential locations, the contractor evaluates access, drainage, and the impact on the exterior — a window under a deck, against a fence, or on a heavily planted elevation adds complexity.
Structural design. Depending on the opening size and the foundation loading, a structural assessment determines whether a lintel (steel or reinforced concrete beam above the opening) is required. Most residential egress openings in standard 8-inch poured concrete walls do not require a lintel if the opening is below a certain width and the wall above the opening has adequate height to arch the load. Larger openings, openings in walls with significant loading, or openings in deteriorated foundations may require engineered reinforcement.
Lead paint assessment. For homes built before 1978, a lead paint test is performed on any painted surfaces that will be disturbed during construction. If lead is present, the project must follow EPA Renovation, Repair, and Painting (RRP) rules — containment of the work area, HEPA filtration, proper disposal of debris, and clearance testing after construction. The contractor performing the work must hold an EPA RRP certification. Lead-safe work practices add time and cost to the project but are a legal requirement.
Phase 2: Permitting
Egress window installation requires a building permit from the Portland Bureau of Development Services because the project involves a structural modification to the foundation wall.
What the permit application includes. The project address, the scope of work (egress window installation with foundation modification), the estimated project valuation, the contractor's CCB license number, and — if plan review is required — drawings showing the opening location, dimensions, and any structural reinforcement.
Processing time. Simple egress installations may be processed as over-the-counter permits, issued within a few days. Projects requiring plan review (larger openings, structural reinforcement, unusual conditions) may take 2-4 weeks for review. The contractor submits the application and tracks the processing.
What the permit triggers. The permit specifies the inspections required — typically a rough framing/structural inspection (after the opening is cut and framed but before the interior is finished) and a final inspection (after the window, well, and finishing are complete). The contractor schedules inspections with BDS at the appropriate stages.
Phase 3: Excavation
The exterior excavation exposes the foundation wall at the window location and creates the space for the window well.
What to expect. On sites with equipment access, a small excavator digs the hole in 1-3 hours. The hole must be wide enough for the window well (at least 36 inches of projection from the foundation, plus working space on each side) and deep enough to accommodate the bottom of the well below the window sill. A typical excavation for a standard egress installation is 5-6 feet deep and 6-8 feet wide at the foundation wall.
Where the dirt goes. The excavated soil is stockpiled on site for backfilling after the well is installed. Excess soil — and there is usually excess, because the window well displaces volume — is hauled off-site or spread elsewhere on the property.
Hand excavation. When equipment cannot reach the window location — a side yard between two houses, a fenced area with no gate access, or a location under an existing deck — the excavation is done by hand. Hand excavation is slower and more labor-intensive, which increases the project cost and timeline. A hand-dug excavation that would take an excavator 2 hours may take a crew a full day.
Utility coordination. Before excavation, the contractor verifies the location of underground utilities — water, sewer, gas, electrical, and communications. Oregon law requires a utility locate request (811 call) before any excavation. The locate marks identify utility paths so the excavation avoids them.
Phase 4: Creating the Opening
This is the phase where the foundation type determines the process.
Wood-frame foundations. The existing framing at the opening location is removed — studs are cut out, and a header (typically doubled 2x10 or 2x12 lumber, depending on the span) is installed above the opening to carry the load from above. Jack studs and king studs frame the sides. The rough opening is sized to the window manufacturer's specifications — typically 1/2 inch larger than the window frame on each side for shimming. The framing work takes a few hours and uses standard carpentry tools.
Poured concrete foundations. The opening is cut with a diamond saw — a track-mounted wall saw that runs on a rail fastened to the foundation wall. The saw uses a diamond-tipped blade cooled by a continuous water supply. The water reduces dust and prevents the blade from overheating. The cutting produces a concrete slurry (water mixed with cement dust) that is captured with a vacuum or contained with plastic sheeting. The four cuts — top, bottom, left, right — define the opening. The concrete block is then separated from the wall and removed. For a typical 8-inch wall with an opening around 46 by 38 inches, the cutout weighs 400-600 pounds and must be sectioned or removed with equipment. The exposed rebar is cut flush with the opening edges. The entire cutting process takes 2-4 hours, depending on wall thickness and rebar density.
CMU block foundations. Blocks at the opening location are removed, scored with a saw, and broken out with a hammer. A steel or concrete lintel is installed above the opening. The cells along the opening are filled with grout and rebar for reinforcement. The process is less equipment-intensive than poured concrete but requires masonry skills.
Brick foundations. Brick is removed carefully — the mortar joints make the removal less predictable than concrete cutting, and cracking can extend beyond the intended opening. A steel lintel is installed above the opening. Brick openings require the most finishing work to achieve clean edges.
What it sounds like. Diamond saw cutting is loud — comparable to a large circular saw running continuously. The cutting phase is the noisiest part of the project. Wet cutting reduces airborne dust but does not reduce noise. On wood-frame foundations, the noise is comparable to standard construction (circular saw, hammer). The cutting phase typically occupies one morning.
Phase 5: Window Installation
With the opening prepared, the window installation follows a consistent sequence across foundation types.
Test fit. The window is placed in the opening without fastening to verify fit. The opening should be slightly larger than the window frame — typically 1/2 inch on each side — to allow for shimming.
Sill pan and flashing. A sill pan is installed at the bottom of the opening to collect and redirect any water that reaches the window-to-wall interface. Flashing is installed to integrate the window with the exterior weather-resistive barrier. The flashing sequence — sill first, then sides, then head — ensures that water drains down and out rather than behind the window.
Shimming and leveling. The window is set into the opening and shimmed to plumb (vertical) and level (horizontal). Shims are placed at the sill (no more than 16 inches apart) and along the sides (no more than 24 inches apart). Paired tapered shims are used to maintain even pressure without bowing the frame.
Fastening. The window is fastened through the frame into the surrounding structure. In wood-frame foundations, screws go through the window frame into the framing lumber. In concrete or CMU, concrete screws or sleeve anchors are used. The fastening method varies by window manufacturer — the installation instructions specify the fastener type, size, and spacing. A critical detail: no fasteners go through the bottom sill of the window frame, as this creates a leak point.
Sealing. The gap between the window frame and the rough opening is filled with low-expanding spray foam — not high-expanding foam, which can bow the frame and prevent the window from operating properly. The exterior is sealed with a backer rod and flexible sealant (polyurethane or silicone). The sealant must accommodate the differential movement between the window frame and the foundation material.
Operation check. The window is opened and closed to verify smooth operation. An egress window must open fully without binding, stay open without support (for casement and awning types), and be operable without tools or special knowledge. The operation check confirms that the shimming and fastening have not distorted the frame.
Code verification. The net clear opening is measured with the window in the fully open position. The measurement must confirm: at least 5.7 square feet of net clear opening (5.0 at grade), at least 24 inches of clear height, at least 20 inches of clear width, and a sill height no more than 44 inches from the finished basement floor.
Phase 6: Window Well and Drainage
The window well provides the required clear space in front of the below-grade window, and the drainage prevents water accumulation.
Well materials. Galvanized steel wells are the most common — durable, cost-effective, and available in standard sizes that match common egress window dimensions. Composite or polypropylene wells are a premium option with better corrosion resistance. The well must provide at least 9 square feet of floor area with a minimum width and projection of 36 inches from the foundation wall. If the well depth exceeds 44 inches from the ground surface to the bottom, a permanently attached ladder or steps must be installed inside the well.
Well installation. The well is positioned against the foundation wall, centered on the window opening. It is fastened to the foundation with concrete anchors — typically three or more attachment points. The well must be plumb (vertical) and properly aligned with the window.
Drainage. A gravel bed (typically 6-8 inches of clean, crushed gravel) is placed at the bottom of the well. A drain connects the bottom of the well to the footing drain system or exits to daylight at grade. The drainage prevents water from accumulating in the well, which would create hydrostatic pressure against the window seal. Drainage installation is strongly recommended — a window well without drainage is a collection basin for rainwater, snowmelt, and surface runoff.
Backfilling. The space between the well and the excavation edges is backfilled with the stockpiled soil. The backfill is compacted in lifts (layers) to prevent settling. The final grade slopes away from the window well and the foundation — directing surface water away from the well rather than toward it. Gutters, downspouts, and irrigation heads should discharge at least 6-10 feet from the well to prevent water from entering.
Well cover (optional). A polycarbonate or metal grate cover keeps debris, leaves, and snow out of the well. The cover must be operable from inside the well without tools — it cannot be permanently fastened or locked in a way that prevents emergency egress. Covers are typically an optional add-on, not included in the base installation.
Phase 7: Interior and Exterior Finishing
Interior. The rough opening is framed with pressure-treated lumber (a buck frame) that provides a nailing surface for the interior trim. Drywall returns are installed from the existing wall surface to the window frame. Trim is applied around the window — matching the style of the existing interior trim if the basement is finished, or a simple casing if the basement is unfinished. The trim is caulked and painted.
Exterior. The grade around the window well is restored to its original contour — sloping away from the foundation. Any vegetation, hardscape, or irrigation disturbed by the excavation is repaired or replaced. Topsoil (typically 4-6 inches) is placed over the backfill and graded for drainage.
Phase 8: Inspection and Closeout
Rough inspection (if required). On some projects, BDS requires a rough inspection after the opening is cut and framed, but before the interior is finished. The inspector verifies the structural integrity of the opening, the header or lintel (if required), and the rough framing dimensions.
Final inspection. The final inspection verifies the complete installation — the egress window dimensions and operation, the window well size and depth, drainage, flashing, interior finishing, and code compliance. The inspector measures the net clear opening, checks the sill height, and confirms the well dimensions. A passed final inspection closes the permit and creates a permanent public record.
What the inspector checks. Net clear opening (5.7 sq ft / 5.0 at grade). Clear height (minimum 24 inches). Clear width (minimum 20 inches). Sill height (maximum 44 inches from finished floor). Window operation (opens fully, stays open). Well area (minimum 9 square feet). Well width and projection (36 inches minimum). Ladder or steps (if well depth exceeds 44 inches). Flashing and weather integration. Structural integrity of the opening.
The Timeline: What Each Day Looks Like
The day-by-day timeline varies by foundation type and site conditions. A typical concrete foundation installation follows this pattern.
Day 1 — Excavation and preparation. The excavator opens the hole. Interior protection is set up (floor covering, dust barriers). The cut lines are marked on the wall. If the project includes utility relocation or lead containment setup, those happen on Day 1 as well. End of Day 1: The foundation wall is exposed and marked, the interior is protected, and the site is ready for cutting.
Day 2 — Cutting and opening. The diamond saw operator cuts the opening. The concrete is removed. Rebar is trimmed. The opening is cleaned and squared. If a lintel is required, it is installed. For wood-frame foundations, the framing (header, jack studs, king studs) is completed on this day. End of Day 2: The rough opening is complete and ready for the window.
Day 3 — Window, well, and drainage. The window is installed — sill pan, flashing, shimming, fastening, sealing. The window well is positioned, anchored, and drainage is connected. The well is backfilled. The rough inspection may be scheduled for the end of Day 3 or the morning of Day 4. End of Day 3: The window and well are in place, and drainage is functional.
Day 4 — Finishing. Interior framing, drywall returns, trim, and paint. Exterior grading, topsoil, and any yard restoration. The project is cleaned up and prepared for final inspection. End of Day 4: The installation is complete and ready for inspection.
Day 5 — Inspection. The building inspector visits the site, verifies all components, and either approves the work or identifies corrections. A passed inspection closes the permit. If corrections are needed, the contractor addresses them and schedules a re-inspection. End of Day 5: Permit closed (if inspection passes).
Wood-frame foundations may compress the timeline to 3-4 days because the opening phase is faster (framing vs. diamond cutting). Brick foundations may extend to 5-6 days due to the complexity of the opening and the finishing work. Weather, access constraints, and inspection scheduling can extend any timeline by 1-2 days.
What Homeowners Should Do Before Installation Starts
Clear the interior work area. Remove furniture, storage, and personal items from the area around the window location — at least 6 feet in each direction. The contractor needs access to the wall, and the cutting or framing work generates dust and debris.
Clear the exterior work area. Move anything portable — potted plants, outdoor furniture, hoses, garden equipment — away from the excavation zone. If there is vegetation (shrubs, plants, garden beds) in the excavation path, discuss with the contractor whether it can be preserved or will need to be replaced.
Confirm utility locations. The contractor handles the 811 utility locate call, but homeowners should identify any private utilities — irrigation systems, yard lighting, invisible fences, private drainage — that the 811 service does not cover.
Plan for noise and access. Diamond saw cutting is loud. The cutting phase typically takes one morning. Plan to be away from the basement during cutting if the noise is a concern. The exterior excavation area will be inaccessible during the project — if the window is near a walkway, entrance, or driveway, plan for alternative access.
Arrange for pet and child safety. An open excavation is a hazard. The hole will be open for 2-3 days during the installation. If children or pets use the yard, they should be kept away from the work area until the well is installed and the area is backfilled.
Frequently Asked Questions
The Process Is the Product
An egress window installation is a structural modification, a weatherproofing project, and a code compliance verification — compressed into 3-5 days. The quality of the result depends on the quality of the process: the accuracy of the assessment, the precision of the cut, the integrity of the flashing, the adequacy of the drainage, and the thoroughness of the inspection. Each phase builds on the previous one. A well-located opening with a properly installed window, a drained well, and a passed inspection is an egress window that performs as intended — as an emergency exit, as a source of natural light, and as the code-compliant component that makes a basement bedroom legal.
Request estimate — Planning a window replacement? VResh Construction installs Milgard, Marvin, Andersen, and Jeld-Wen in both double and triple-pane configurations. Free on-site assessment with honest recommendations. Call (503) 272-6436.