
Siding Replacement & Installation in Portland, OR
Replace Old, Failing, or Moisture-Damaged Siding. James Hardie Fiber Cement. Vinyl. Cedar. Engineered Wood. Proper Moisture Barriers Included on Every Job. Licensed OR #241979 | WA #VRESHCL776ND.

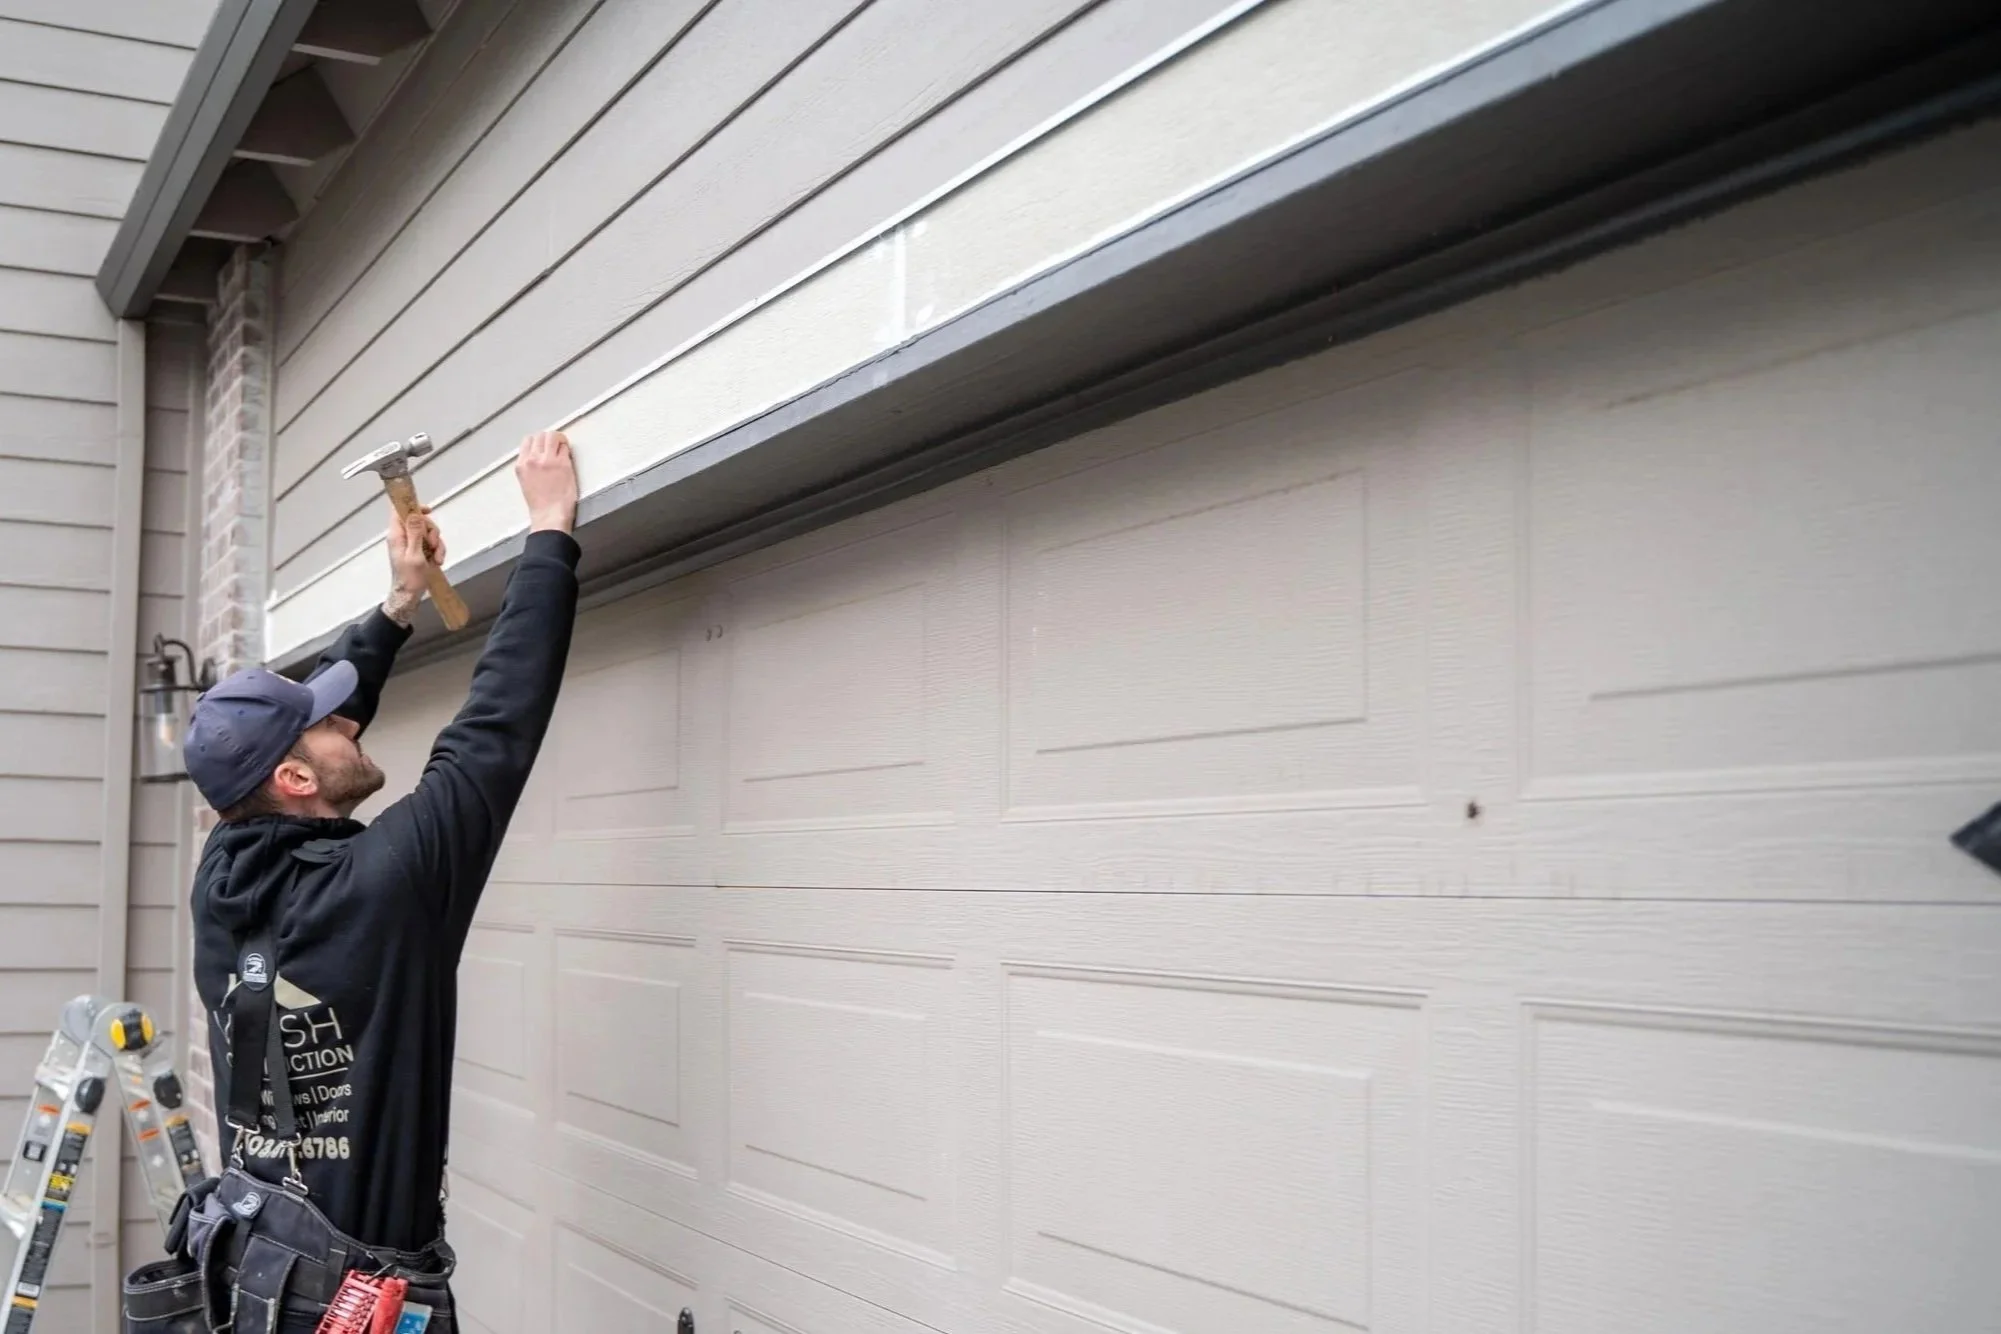
Portland homeowners replace their siding for one of four reasons: the existing siding is visually deteriorated and affecting curb appeal, it has active rot at the bottom courses or around windows, it is a material that has failed at scale (early LP siding, Masonite hardboard, original vinyl that has brittled), or it is single-wythe wood that has been painted so many times it can no longer hold paint. All four are situations VResh addresses every week. A siding replacement is one of the most significant exterior investments a Portland homeowner can make — and one of the most consequential if done incorrectly. New siding installed over an improperly prepared substrate, without the right moisture barrier, without proper flashing at all penetrations, or without the correct clearances from grade and rooflines will fail well before its rated lifespan. In the meantime, it may hide water infiltration that's silently rotting the framing behind it.
VResh Construction has completed hundreds of siding projects across Portland, OR, and Southwest Washington. We install James Hardie fiber cement, premium vinyl, cedar, and engineered wood siding, and we do it correctly: full removal of old siding, inspection of the substrate for moisture damage and dry rot, installation of a proper drainage plane, correct flashing at all windows, doors, and penetrations, and the right material clearances from grade and rooflines. If we find dry rot under the old siding — which we frequently do — we repair it before the new siding goes on. Every time.
James Hardie Experienced Installer
Thorough knowledge of all HardiePlank, HardieShingle & panel lines
Moisture Barriers Always Included
Drainage plane installation on every siding project
EPA Lead-Safe Certified
Required for siding work on pre-1978 Portland homes
Dry Rot Found → Fixed
We repair structural damage before new siding goes on
Licensed & Insured
OR #241979 | WA #VRESHCL776ND
5–10 Year Workmanship Warranty
Plus manufacturer warranty on all materials
(503) 272-6436 — Call or Text, Available 24/7
We answer calls and texts at any hour. For storm damage, active leaks, or structural emergencies, calling directly is the fastest path to a response.
What Most Portland Homeowners Don't Know About Siding Replacement
Portland's climate is uniquely demanding for exterior siding. Annual rainfall of 37 inches, months of sustained wet weather, and the specific combination of driving rain and ambient moisture create conditions where siding installation technique is the difference between a 30-year installation and a 12-year problem. Here are the three most common installation failures we correct in Portland homes — often hidden behind what appears to be new siding that was installed improperly years earlier.
Missing or Incorrect Moisture Barrier (Weather-Resistant Barrier)
A weather-resistive barrier (WRB) — housewrap or building paper — is the critical layer between the siding and the sheathing that manages moisture that gets behind the siding. In Portland's climate, some moisture always gets behind siding. Without a properly installed WRB, moisture can enter the sheathing and framing. Most older Portland homes have degraded building paper or no WRB at all. Every VResh siding project includes the installation or replacement of a proper WRB — it is not optional or an add-on.
Missing Flashing at Windows, Doors, and Penetrations
Every window, door, utility penetration, and deck ledger that breaks through the siding plane is a potential water entry point. Proper flashing — head flashing above windows, kickout flashing at roof-to-wall intersections, and through-wall flashing at deck attachments — directs water away from these intersections and to the exterior. When these flashings are absent or improperly installed, water runs straight into the wall cavity. We flash every penetration, every time.
Incorrect Bottom-Course Clearances
James Hardie and virtually all fiber cement and wood siding manufacturers specify a minimum clearance from the bottom course of siding to grade (typically 6 inches) and to rooflines (typically 2 inches above roof flashing). These clearances exist to prevent wicking, splash-back saturation, and direct water contact at the most vulnerable parts of the siding. Siding installed without these clearances — extremely common in budget contractor work — wicks moisture from the soil and rots from the bottom up, often before the rest of the siding has shown any problems.
Our Siding Installation Process — Every Step on Every Project
Siding Materials We Install — Which Is Right for Your Portland Home?
James Hardie Fiber Cement — Our Most-Recommended Product
James Hardie is the #1 recommended siding product for Portland homes, and for compelling reasons. Fiber cement does not rot, does not warp, resists insects, resists fire, and holds paint for 10–15 years — significantly longer than wood. It carries a 30-year limited manufacturer's warranty.
James Hardie's ColorPlus factory-finish option provides a baked-on finish that outperforms field-applied paint. Available in over 700 colors with a 15-year fade warranty.
HardiePlank lap siding most closely matches the appearance of traditional wood lap siding — visually indistinguishable in most applications.
The correct installation of James Hardie siding requires specific fastener types, specific clearances from grade and rooflines, specific caulk products, and specific back-priming protocols. Failure to follow these requirements voids the manufacturer's warranty.
Cedar Siding — Authentic Character, Higher Maintenance
Clear western red cedar provides an authentic character that no engineered product can fully replicate. It is visually stunning when properly maintained.
The trade-off: cedar requires regular painting or staining (every 5–7 years), is susceptible to moisture damage and rot if maintenance lapses, and requires the most precise installation of any siding material.
Cedar is appropriate for homeowners who are committed to regular maintenance and value the authentic aesthetic above all else.
For cedar siding on any pre-1978 home, the same EPA Lead-Safe considerations apply as with any other siding removal work.
Vinyl Siding — Cost-Effective for the Right Application
Vinyl is a cost-effective siding option that performs well in mild climates when installed properly. It does not require painting, does not rot, and is low-maintenance.
Limitations in Portland's climate: Vinyl can fade, become brittle in extreme cold, and is more susceptible to impact damage than fiber cement. It also has a notably different visual character than wood or fiber cement.
Vinyl is an appropriate choice for rental properties, budget-constrained projects, and applications where visual character is less important than cost.
Important: Even vinyl siding requires a proper WRB and correct flashing. "Vinyl doesn't rot" does not mean the sheathing behind improperly installed vinyl doesn't rot.
Engineered Wood (LP SmartSide) — Best of Both Worlds
LP SmartSide is the leading engineered wood siding product — manufactured from wood strands treated with a resin binder and a zinc borate preservative that resists moisture, rot, and insects.
LP SmartSide looks and works much like real wood, accepts paint readily, and carries a 50-year limited warranty.
LP SmartSide is an excellent alternative to cedar for homeowners who want the visual character of wood siding without the same maintenance demands.
Generally priced between vinyl and James Hardie — a strong mid-range option.


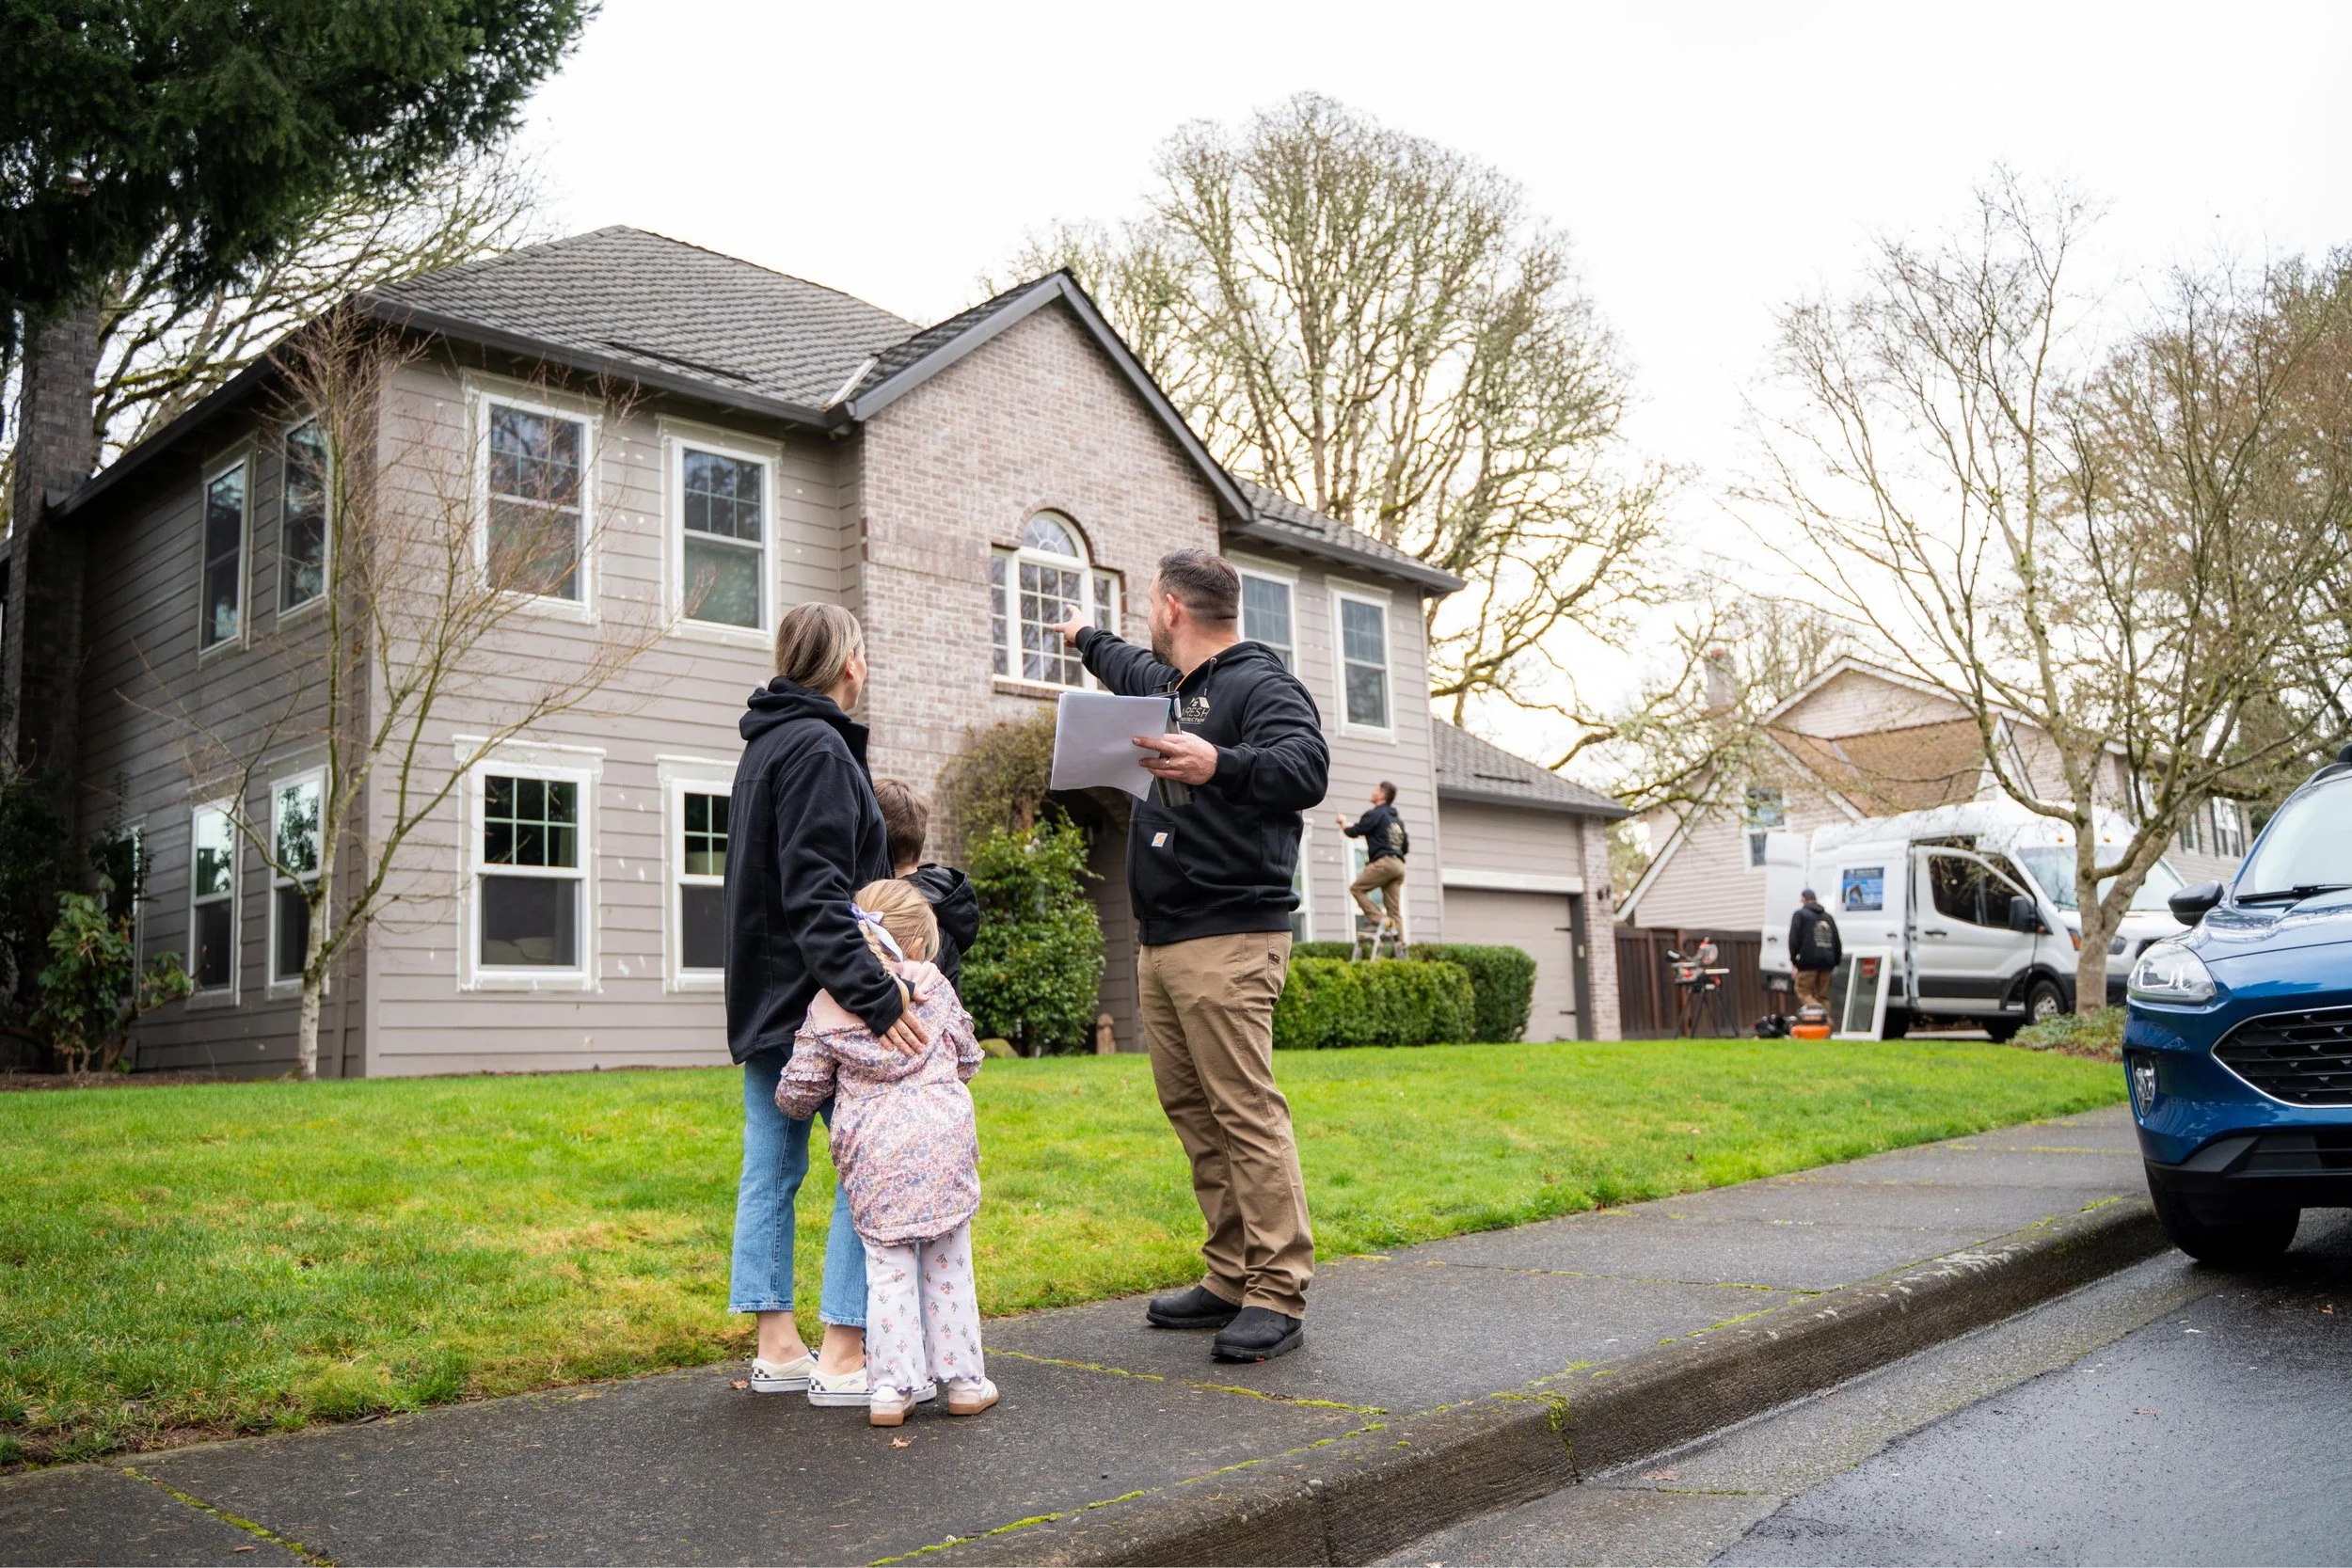
Client's Talk
We have a wealth of experience working as main building contractors on all kinds of projects, big and small, from home maintenance and improvements to extensions, refurbishments and new builds.
What Does Siding Replacement Cost in Portland, OR?
General Cost Ranges — Portland, OR (Labor + Materials)
- Full home siding replacement, vinyl, standard Portland ranch or bungalow: $12,000–$22,000
- Full home siding replacement, James Hardie HardiePlank, primed: $18,000–$35,000
- Full home siding replacement, James Hardie ColorPlus (factory finish): $22,000–$45,000+
- Full home siding replacement, LP SmartSide: $16,000–$28,000
- Partial siding replacement (one or two elevations): Priced per square foot — ask for estimate
- Add $2,000–$12,000 for extensive dry rot structural repair (highly variable)
[FLAG — Verify these ranges with Vlad before publishing. Pricing changes regularly.]
Spring Special
$500 off siding projects over $8,000.
Free moisture and dry rot inspection included with all qualifying siding projects.
Siding Replacement on Portland's Pre-1978 Homes
A substantial portion of the Portland-area homes we re-side were built before 1978. Lead-based paint is present in a large percentage of these homes — on the existing siding, trim, window frames, and surrounding surfaces. Federal EPA RRP rules require contractors performing this work to hold Lead-Safe Certification, follow specific containment and cleanup protocols, and provide written documentation. VResh Construction is EPA Lead-Safe Certified. Most Portland siding contractors are not. Ask for certification documentation before hiring any contractor to perform siding removal and replacement on a pre-1978 home.
⚠️ Siding Removal on Pre-1978 Homes — What Non-Certified Contractors Miss
Siding removal on a pre-1978 home without proper Lead-Safe protocols creates lead dust. Lead dust from a single day of improper siding removal can contaminate interior surfaces, soil, and landscaping.
Fines for EPA RRP violations can reach $37,500 per day per violation.
A non-certified contractor cannot provide the required written documentation of Lead-Safe compliance, which may affect your home's record and your family's safety.
VResh Construction follows full EPA RRP protocols on every pre-1978 siding project and provides written documentation.

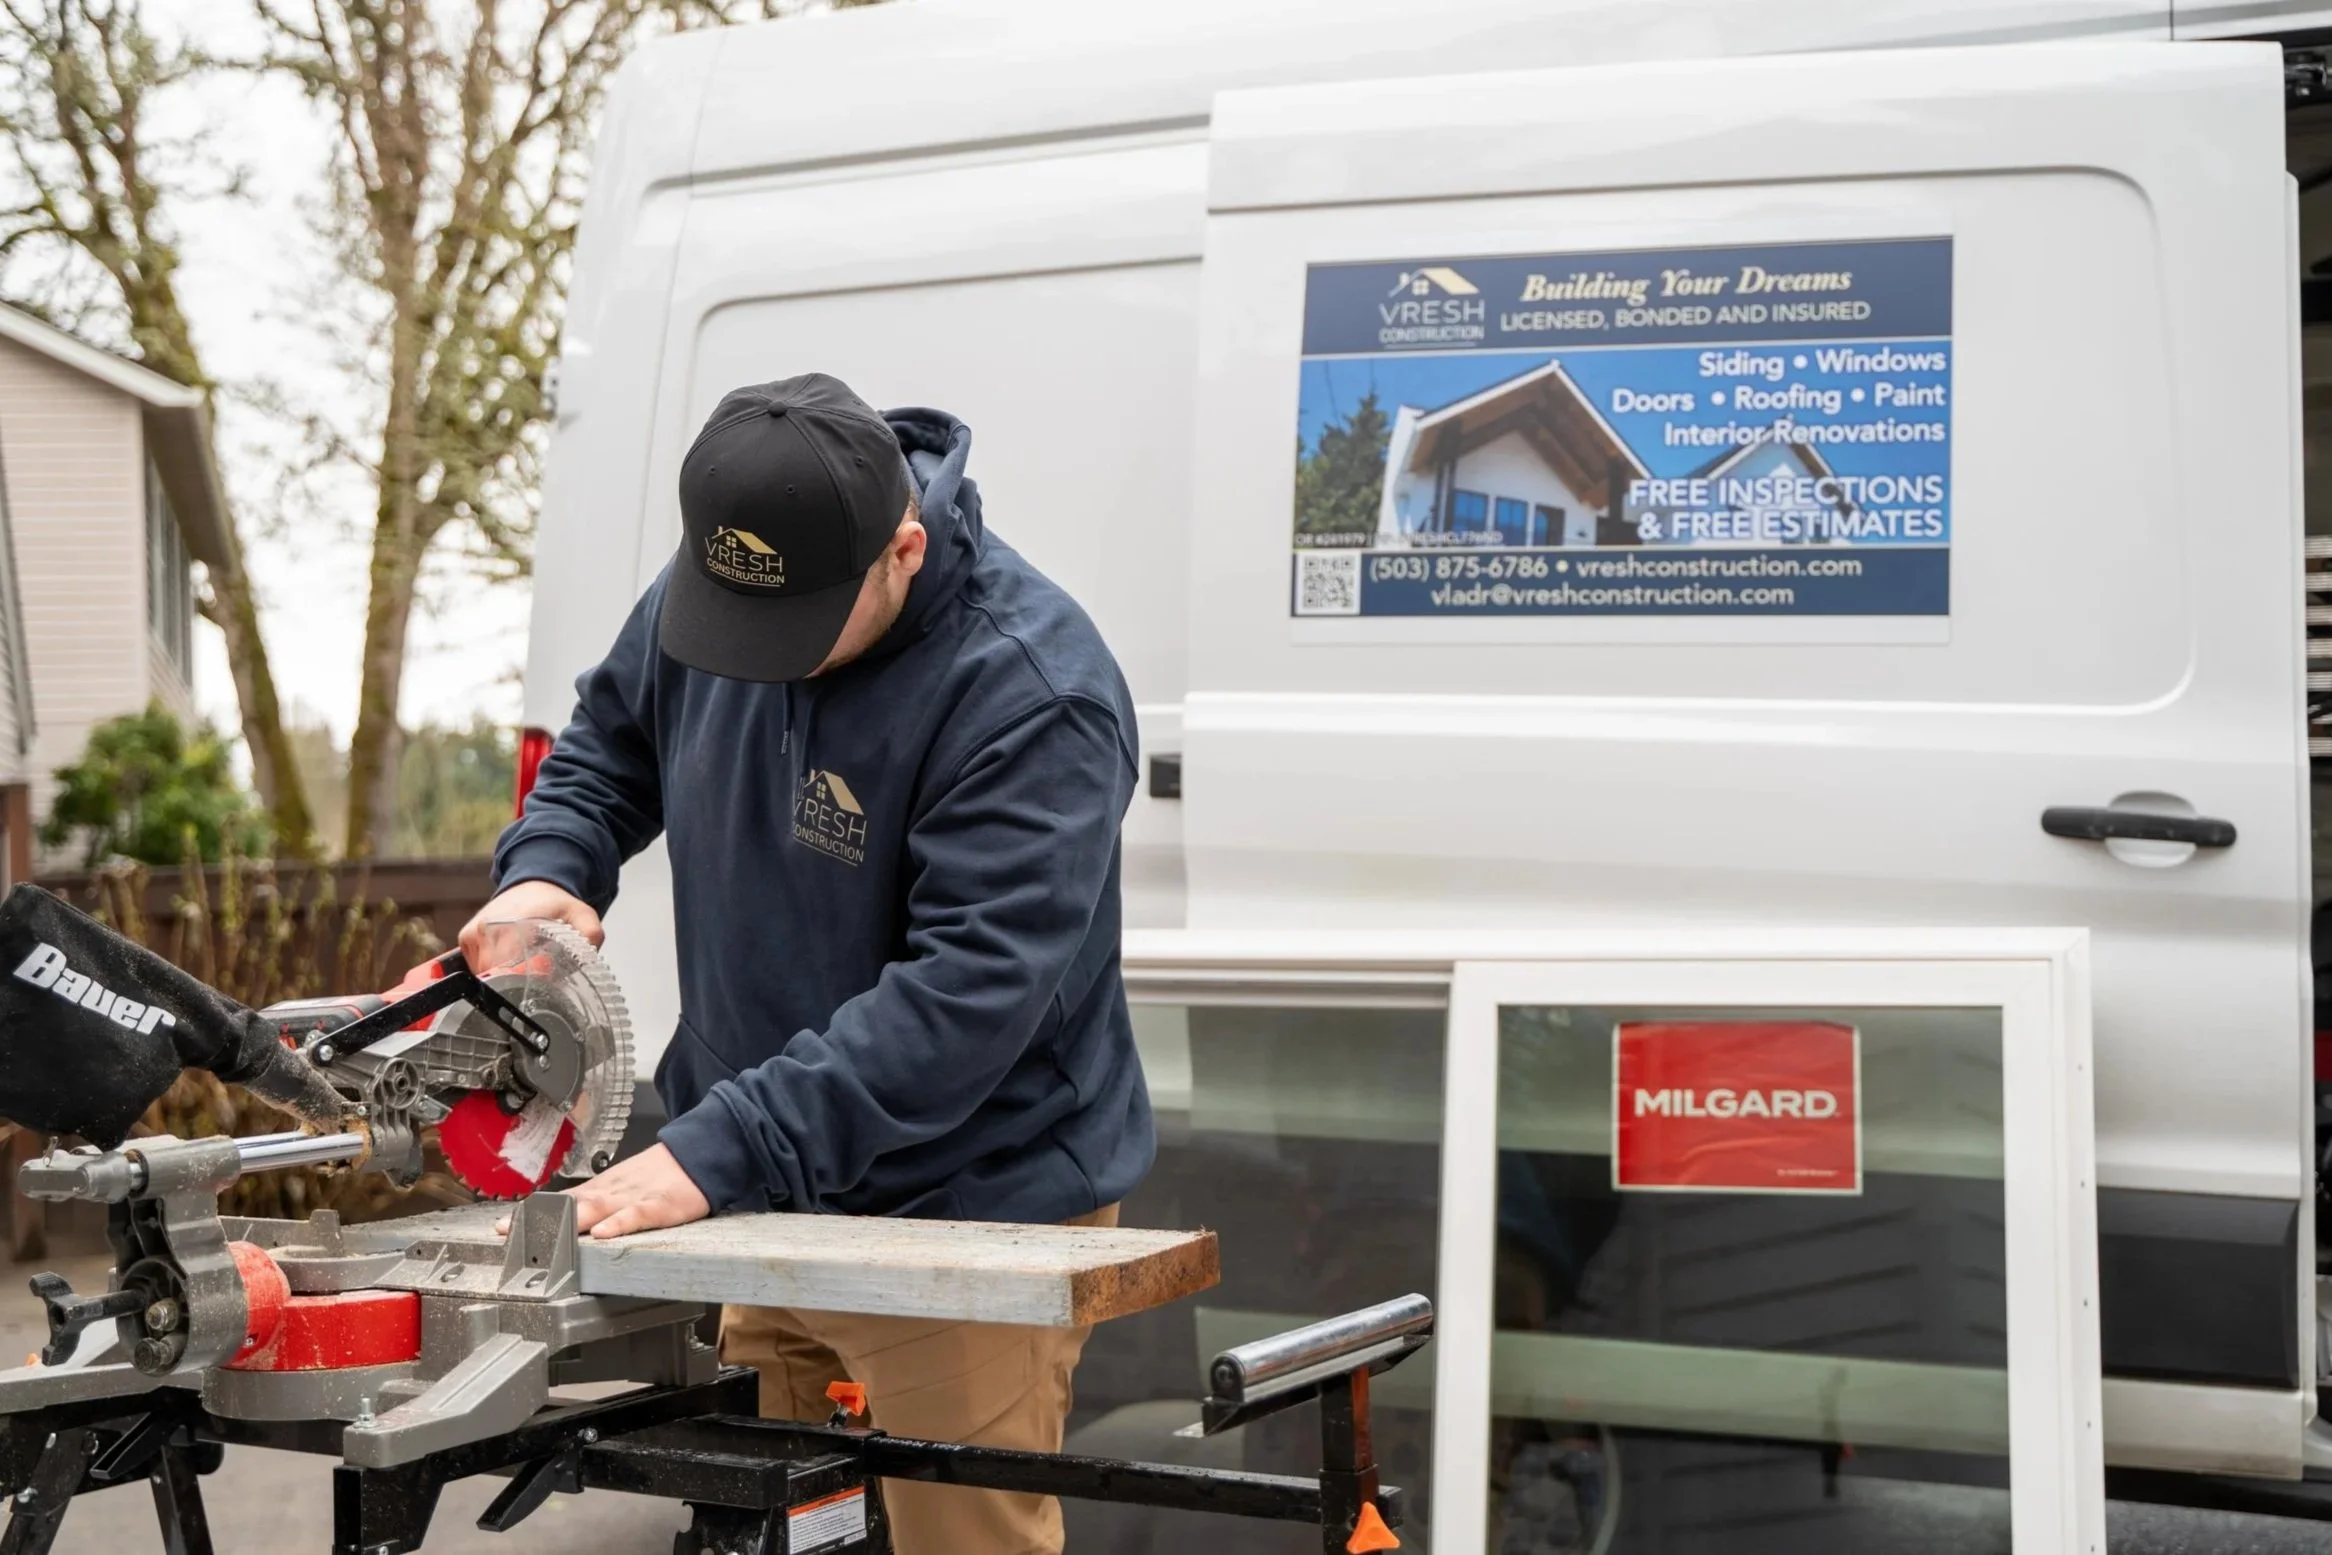
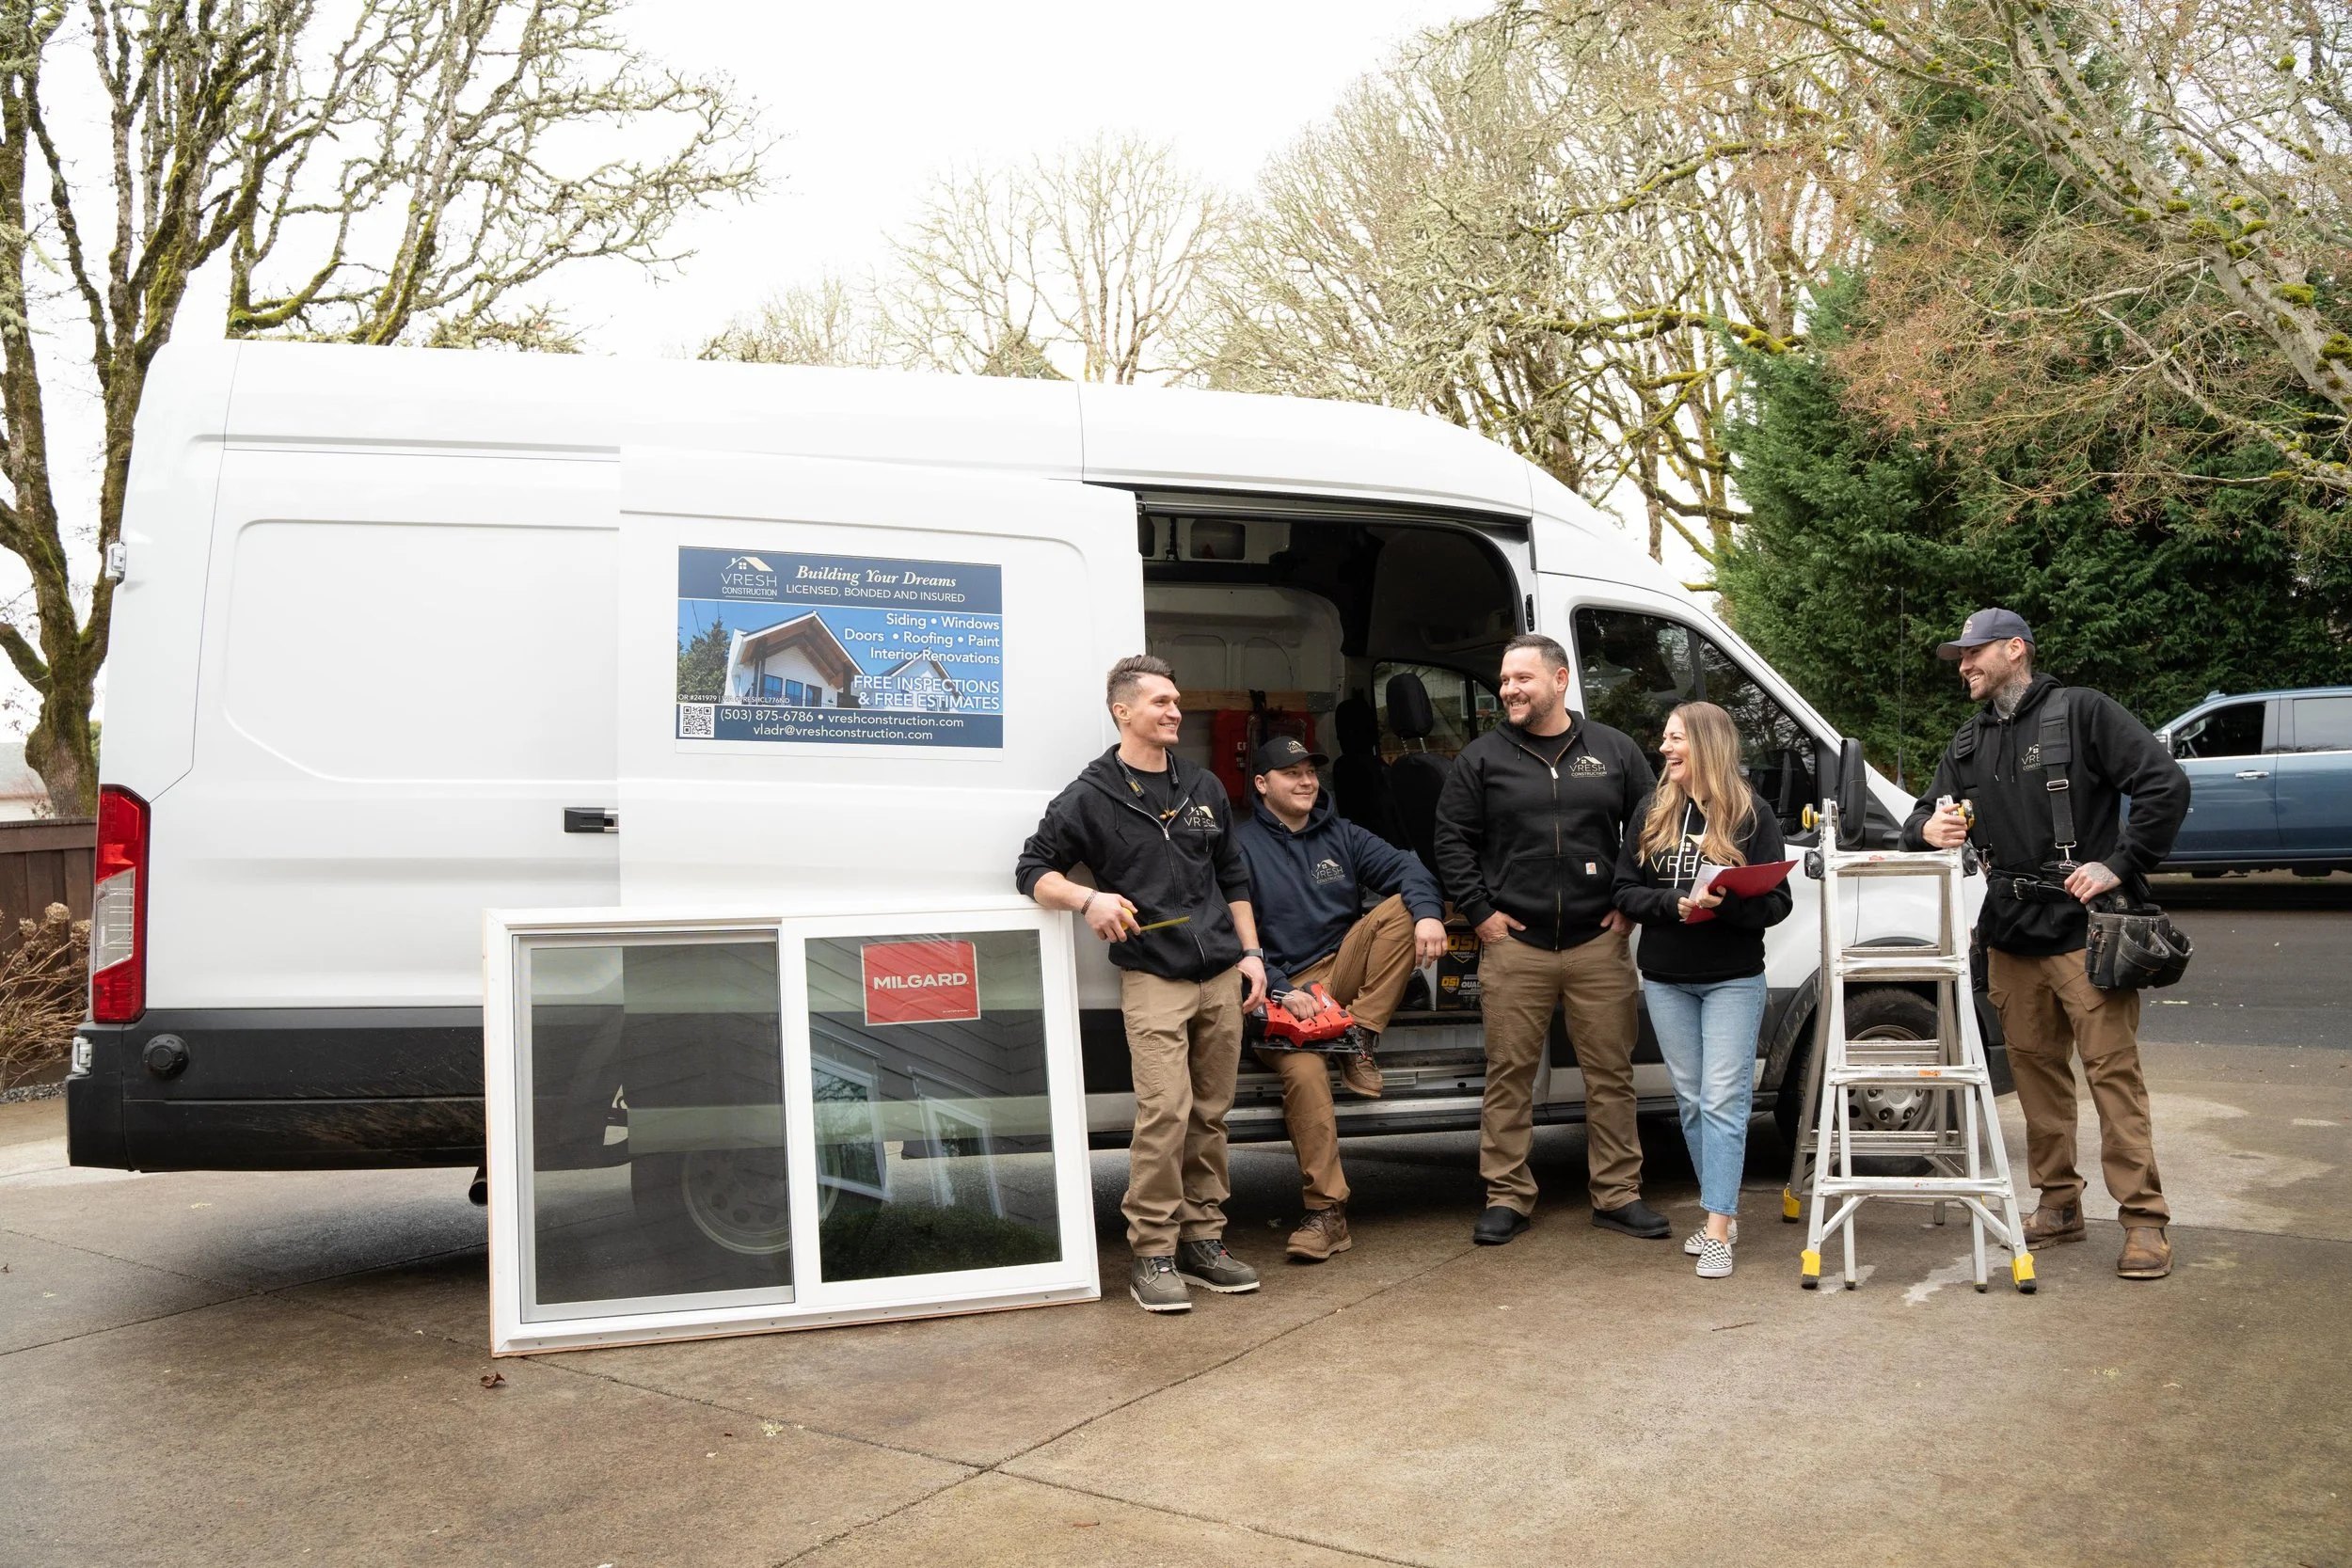
Serving Portland Metro Area
VResh Construction provides window replacement, siding installation, roofing, dry rot repair and full exterior renovation services throughout the Portland metro area and Southwest Washington.