
Spring Home Exterior Maintenance Checklist for Portland
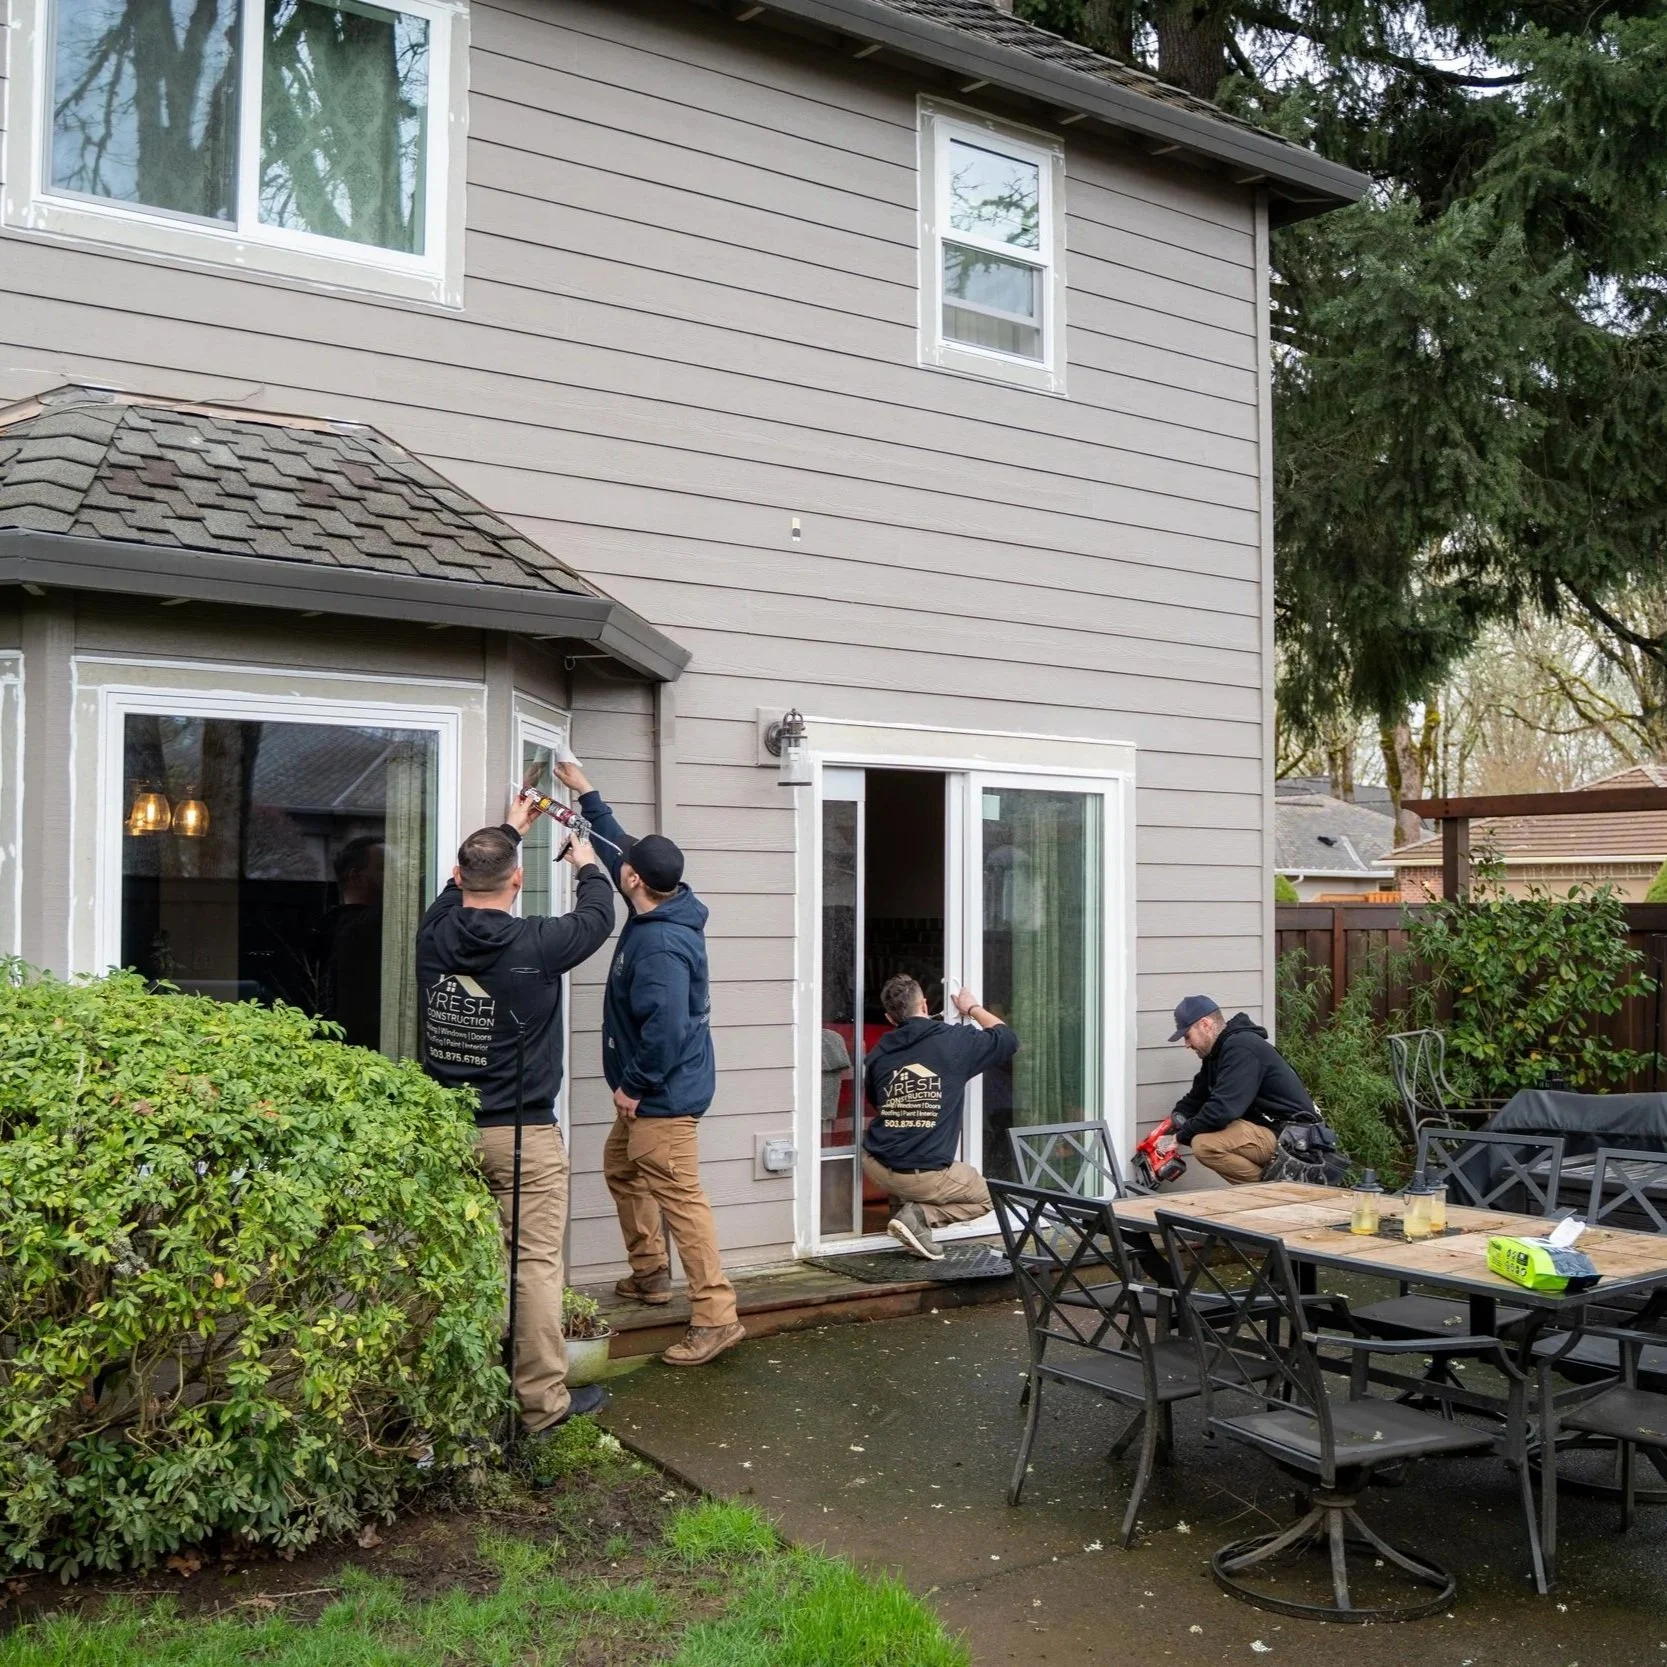
Homeowners and contractors inspect an exterior space, highlighting the importance of post-winter maintenance checks to catch moisture damage, gutter issues, and early rot before they become costly structural repairs.
Winter just ended. Portland dumped 25+ inches of rain between October and March, freeze-thaw cycles cracked every caulk joint and sealant bead on the house, and moss has been growing on every north-facing surface for six months straight. The damage is there. It's just not obvious yet. A single Saturday morning walk around the property with a screwdriver, a flashlight, and this checklist catches the $200 problems before they become $10,000 ones.
Item #1: Clean and Inspect Gutters
Gutters are the first line of defense and the first thing to fail after winter. Leaves, pine needles, and debris pack the channels. Moss grows at the joints. Downspout connections clog. When gutters overflow, water pours down the siding, pools at the foundation, and saturates the soil around the house.
Clean every section. While cleaning, check for: sagging runs (broken hangers), separated joints (sealant failure), and rust spots on steel gutters. Make sure every downspout extends at least 4-6 feet from the foundation. Splash blocks or downspout extensions that dump water right next to the house are almost worse than no gutters at all.
Item #2: Probe Exterior Trim for Soft Spots
Grab a flathead screwdriver and press it into every piece of exterior wood trim — window casings, door frames, corner boards, fascia, and the trim at the base of the siding. If the screwdriver sinks in, that wood is rotting. Focus on north-facing and west-facing walls first. They took the most rain and dried the least.
The spots that fail first: bottom edges of window sills where water pools, the base of door trim where it meets the threshold, and anywhere siding trim meets a horizontal surface. Soft wood found now costs $200-$800 to repair. The same soft wood found next spring — after another 40 inches of rain — costs $2,000-$5,000 because it's spread into the framing.
Item #3: Inspect the Roof from the Ground
A pair of binoculars and a walk around the property reveals most roof problems without getting on a ladder. Look for: missing or shifted shingles, curled shingle edges, dark patches where granules have worn off, moss buildup (especially on north-facing sections), damaged flashing at chimneys and walls, and lifted pipe boot collars.
Granule buildup in the gutters (checked in Item #1) confirms how much shingle surface erosion happened over winter. A handful of granules is normal. A thick layer means the shingles are deteriorating and the roof needs professional evaluation.
Item #4: Check Siding for Damage and Moisture Signs
Walk every wall. Look for: warped or buckled siding panels, paint bubbling or peeling in isolated spots, cracks or gaps at butt joints, staining below the roofline, and mold concentrations. Each of these indicates moisture working behind the siding.
Press on any warped panels. They should feel solid. If they flex or feel soft behind them, the sheathing is saturated. Pay extra attention to areas below windows, around hose bibs, and where siding meets the foundation — these are the highest-risk moisture entry points.
Item #5: Inspect the Foundation for Cracks and Water Signs
Walk the exposed foundation perimeter. New cracks wider than 1/8" need evaluation. Efflorescence (white mineral deposits on the concrete surface) means water has been moving through the concrete. Staining or watermarks on the foundation wall indicate grading or drainage problems that are sending water toward the house instead of away from it.
Check that the grade slopes away from the foundation at every point. Settled flower beds, eroded soil, and landscaping changes over the years can reverse the drainage slope — sending water back toward the house during heavy rain.
Item #6: Test All Exterior Caulk and Sealant
Winter freeze-thaw destroys caulk. Every window perimeter, door perimeter, siding-to-trim joint, pipe penetration, and utility entry needs a visual and tactile check. Caulk that's cracked, pulled away from the surface, or hard and brittle has failed. Water is getting through those gaps every time it rains.
Recaulking is a $100-$300 DIY job that prevents thousands in moisture damage. Use a high-quality polyurethane or modified silicone exterior caulk — not cheap acrylic, which fails after 2-3 Portland winters.
Item #7: Evaluate Exterior Paint Condition
Peeling, flaking, or chalking paint means the surface underneath is exposed to moisture. Isolated peeling (one window, one wall section) points to a specific moisture source — check the flashing and caulk in that area. Widespread chalking means the paint has reached end of life, and the whole house needs repainting before water damage begins.
For pre-1978 homes: peeling paint may contain lead. Do not sand, scrape, or pressure-wash without testing first. EPA lead-safe work practices apply.
Item #8: Inspect the Deck or Porch
Walk every board and feel for soft spots. Check the ledger connection where the deck meets the house — this is the most critical structural joint. Look for: rust stains around fasteners, separated boards, sagging railing posts, and gaps between the deck surface and the house.
Flip up a corner board if possible and check the joists underneath. Rotted joists under an apparently solid deck surface are a common hidden problem — the surface looks fine while the structure below is failing.
Item #9: Check Fencing for Winter Damage
Posts rot at the base. Pickets warp. The gates sag because the hinges pulled out of soft wood. Walk the entire fence line and push on every post. A post that moves when pushed is rotting underground and will fall in the next windstorm.
Check the bottom edge of pickets — if they're in contact with soil or mulch, they're absorbing ground moisture and rotting from the bottom up. There should be a gap between the bottom of the fence and the ground.
Item #10: Inspect Windows and Doors
Open and close every exterior window and door. Sticking, binding, or misalignment means the frame around it has shifted — possibly from moisture damage in the surrounding wood. Check the weatherstripping for compression and the hardware for smooth operation.
Look at the glazing putty on older windows. Cracked or missing putty lets water reach the wood behind the glass — a common rot source on Portland's older homes.
Item #11: Check Crawlspace Ventilation and Moisture
If the house has a crawlspace, open the access hatch and look inside with a flashlight. Standing water, condensation on surfaces, and a musty smell all indicate moisture problems. The vapor barrier on the ground should be intact — no tears, no gaps. Vents should be clear and unobstructed.
Portland crawlspaces are notorious for moisture accumulation. A moisture reading above 16% on framing surfaces means the space needs better ventilation or vapor barrier repair before fungal growth starts.
Item #12: Verify Drainage System Function
Run water through every downspout and watch where it goes. Check that French drains and catch basins are clear. Verify that sump pumps run when triggered. After five months of Portland rain, drainage systems can be clogged with debris, and a failed sump pump won't show itself until the next heavy rain fills the crawlspace.
Frequently Asked Questions
One Hour Prevents a Year of Damage
Every item on this checklist catches something that Portland's winter rain started. The gutters overflow. The caulk cracks. The trim softens. The roof sheds granules. None of it stops on its own. One hour on a dry Saturday morning with a screwdriver and a good eye keeps repair costs in the hundreds instead of the thousands. That's the trade.