Sliding Door Project Checklist for Portland Homeowners
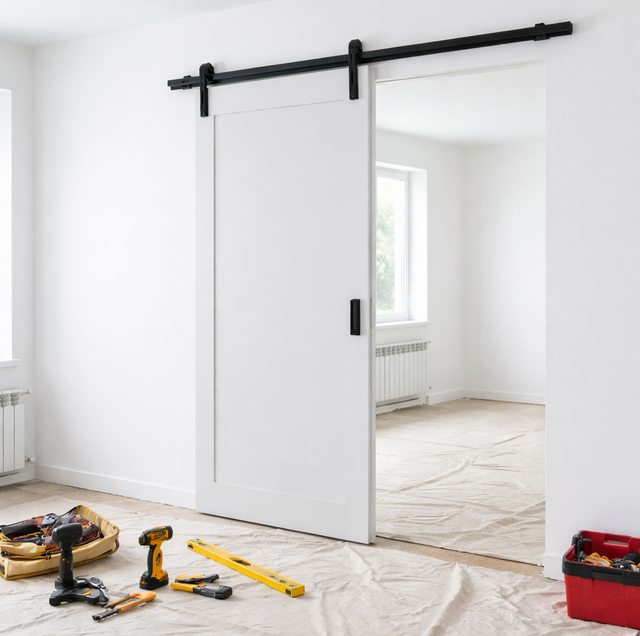
Quick Answer: Confirming exact measurements, a change-order sign-off threshold, floor protection during the work, who's authorized to make on-site decisions, and lead-safe containment for an older home are the checklist items most likely to get skipped once a contractor is already hired.
Choosing a contractor is a different question from making sure a specific project goes smoothly once that contractor is already hired. The first question gets most of the attention. This checklist covers the second one: the details worth locking down between signing a contract and the crew showing up, so installation day doesn't surprise anyone.
Before the Contract Is Signed
1. Exact door dimensions confirmed on site, not estimated from photos: A quote based on rough measurements or photos alone risks ordering the wrong size unit. Confirming the crew or estimator physically measured the opening in person, not just from a description, avoids a costly reorder later.
2. A dollar or scope threshold above which a change needs written sign-off: Agreeing in advance on the point at which a mid-project change, a larger repair, or an upgraded part needs a signature before proceeding, rather than being handled verbally on-site, keeps a small adjustment from turning into a disputed line item on the final invoice.
3. Permit responsibility named explicitly, if the project needs one: For a project enlarging the opening or adding a structural header, confirming in writing whether the contractor or the homeowner is pulling the permit avoids a gap where neither party assumes it's their job.
Keep a copy of the signed estimate and any change orders together in one folder, physical or digital, from the very first day. It becomes the reference point for every question that comes up later in the project.
Once the Contract Is Signed, Before Work Starts
4. A realistic delivery window for the door itself: Standard sizes typically ship faster than custom configurations or premium glass packages. Getting a specific window, not just "a few weeks," helps set expectations for the rest of the project's timeline.
5. How nearby flooring, trim, and interior finishes get protected during the work: Cutting into an old frame and removing surrounding trim generates dust and debris close to interior floors and walls. Confirming drop cloths, floor protection, and dust containment are part of the standard process, not an extra a homeowner has to request, is worth doing before the first tool comes out.
6. Site access and any prep work on the homeowner's side: Clearing furniture, blinds, or window treatments away from the opening, and confirming which side of the door needs clear access for the crew, keeps installation day from starting with a delay.
The change-order threshold, the floor-protection plan, and who's authorized to make on-site decisions are all easier to negotiate before the old door comes out than after. Once removal starts, a homeowner has far less standing to add a term that wasn't already agreed to in writing.
On Installation Day and After
7. A walk-through of the old door's condition before removal begins: A quick look together at the existing door and visible sill condition, before anything is removed, gives both parties a shared reference point if a question comes up later about pre-existing versus new damage.
8. Debris and old-material disposal confirmed as part of the scope: Whether the crew hauls away the old door and any construction debris, or whether that's left to the homeowner, is worth confirming rather than assumed either way.
9. Who's authorized to make a decision on-site if something unexpected comes up: If the homeowner won't be present for the full installation, confirming who can approve a small on-the-spot decision, and how quickly that person can be reached, keeps a minor question from stalling the crew's schedule for the day.
10. Lead-safe containment confirmed in advance, for a home built before 1978: If the home's construction date puts it under the federal lead-safe rule, confirming the crew includes an EPA-certified renovator and that containment is set up before removal begins, not improvised once cutting into painted trim has already started, is worth locking down at the same time as the other items on this list.
Why a Checklist Matters More Than It Seems
None of these ten items require any specialized knowledge to confirm. What they require is asking the specific question at the right point in the process, before it becomes harder or more expensive to address. A homeowner who's already vetted and hired a contractor has done the harder half of the work; working through a project checklist like this one is what keeps a good contractor's own work from being undermined by a small detail nobody thought to confirm.
Frequently Asked Questions
It's a reasonable request, and a contractor confident in their own process usually welcomes it rather than treating it as an imposition. Most of these items are things an experienced crew already handles as a matter of course; asking about them out loud simply confirms that shared understanding exists before work starts, rather than assuming it.
Most items still apply, though the stakes on some are lower for a simple, same-size swap than for a larger multi-slide or opening-enlargement project. Dimension confirmation, floor protection, and confirming who's authorized to make on-site decisions are worth doing on any project regardless of size; permit responsibility, the change-order threshold, and lead-safe containment on an older home matter more on a larger or more complex scope.
Naming one primary point of contact, with a backup named as well, tends to work better in practice than leaving it open to either of two people. A crew that isn't sure who has final say on a small on-the-spot decision sometimes ends up waiting on an answer from whoever happens to be reachable first, which can mean a decision gets made without the other person's input. Naming an order upfront- primary contact first and backup if the first isn't reachable- avoids that ambiguity without excluding either person from the conversation.
Either can work, though tracking it independently, even informally, ensures nothing falls through simply because it wasn't written into a specific contractor's own process. Some contractors do provide a version of this as part of their standard paperwork; a homeowner keeping their own version alongside it is a reasonable extra layer either way.
Not usually by itself, but it reduces the odds of a delay caused by a miscommunication, a missing permit, or a surprise found mid-project with no plan already in place for how to handle it. The timeline savings show up more in avoided delays than in the project moving unusually fast, and a delay avoided is worth more to most schedules than a few days shaved off an already-smooth project.
Documenting the specific issue with photos and a written note, on the spot, at the time of that walk-through rather than relying on memory afterward, gives both sides a clear reference point if a question comes up later about pre-existing versus new damage. This is exactly why item seven on this list, the walk-through itself, is worth treating as a real documentation step rather than a glance before removal begins.
Less so. Most of these items- dimension confirmation, permit responsibility, the change-order threshold- are specific to a project that involves removing and reinstalling the opening itself. A hardware-only repair- rollers, weatherstripping, a latch adjustment- doesn't carry the same set of risks, so a shorter version focused mainly on debris disposal and, for an older home, lead-safe containment is more proportionate to that smaller scope of work.
A Good Contractor Still Needs a Clear Process
Hiring the right contractor and running a smooth project are related but separate accomplishments. This checklist exists for the second one: the specific, sometimes small details that determine whether a project everyone agreed to on paper actually goes the way it was supposed to once work begins.
Get a written estimate that covers every item on this checklist from the start, itemized and confirmed before work begins. VResh Construction serves the Portland metro. CCB #241979. Call (503) 272-6436.