
Skylight Installation in Portland, OR
New Installs, Replacements & Leak Repair. Full Manufacturer-Specified Flashing System on Every Project. VELUX & All Major Brands. Licensed OR #241979.


A skylight done correctly adds meaningful daylight to Portland’s famously grey winters and performs without leaks for decades. A skylight done incorrectly is a leak waiting to happen — and in Portland’s climate, it will happen within a few rain seasons. VResh handles new skylight installations, skylight replacements, and leaking skylight repairs throughout the Portland metro. Every installation uses the manufacturer’s complete specified flashing kit for the specific skylight model and roof pitch — not improvised or generic flashing. The flashing system is what separates a skylight that performs for 30 years from one that leaks in year three.
We also repair leaking skylights. Virtually every leaking Portland skylight is a flashing failure, not a glass or frame failure. In most cases, the correct repair is a reflashing — the skylight unit stays in place, and a new complete flashing system is installed to the manufacturer’s specification. We assess the leak cause before recommending any scope and will not recommend a full replacement if reflashing solves the problem.
Skylight Types for Portland Homes
|
Fixed Skylight
|
A non-operable skylight — glass sealed in a frame with no venting mechanism. Admits light and views without any ventilation function. Fixed skylights are simpler to install, have fewer components to fail, and are less expensive than venting models. The correct choice when the primary goal is daylight — hallways, stairwells, dark kitchens, and rooms where roof access for manual venting is impractical. Available in standard sizes from all major manufacturers and in custom sizes for non-standard openings. |
|
Venting Skylight (Manual)
|
A skylight with an operable sash that opens manually — typically with a crank mechanism or a pole-operated latch. Provides both daylight and ventilation. Manual venting skylights are appropriate for accessible locations where the homeowner can reach the opening mechanism — lower roof slopes, rooms with access to the skylight from a ladder, or skylights positioned over accessible furniture. The most common VELUX residential venting product. |
|
Venting Skylight (Electric / Solar)
|
A motorized venting skylight operated by a wall switch, remote, or rain sensor. Electric models require a power connection; solar-powered models (VELUX Sun Tunnel® and solar-powered Fresh Air skylights) operate without electrical wiring. Rain sensors automatically close the skylight when precipitation is detected — a practical feature for Portland's frequent and unpredictable rain events. The premium venting option for high or inaccessible roof locations. |
|
Tubular Skylight (Sun Tunnel)
|
A small-diameter reflective tube that channels daylight from a roof-mounted dome to a diffuser in the ceiling below. Tubular skylights are significantly less disruptive to install than conventional skylights — the roof opening is small (10–21 inches), no structural framing modification is typically required, and the tube can be routed around obstructions in the attic. Appropriate for small spaces, closets, bathrooms, and hallways where a full-size skylight would require major structural work. VELUX Sun Tunnel® is the most widely available product. |
|
Roof Window
|
A large operable skylight designed for installation on steep-slope roofs in habitable attic spaces — essentially a window in the roof plane. Roof windows are common in converted attic bedrooms and loft spaces where the roof slope creates a wall-like surface. They open outward on a top pivot or center pivot hinge. VELUX is the dominant manufacturer in the roof window category. Installation requires careful structural assessment of the rafter bay and proper flashing for the specific roof pitch. |
Skylight Installation — What the Project Involves

Leaking Skylight Repair in Portland — What Actually Causes It
Why Portland Skylights Leak — The Real Causes
Virtually every leaking skylight in Portland is a flashing failure, not a glass or frame failure. The glass seal on a quality skylight lasts decades. The flashing system — if incorrectly installed, incompletely installed, or aged past its service life — fails much sooner.
The three most common causes: step flashing that was laid on top of shingles rather than woven between shingle courses; a missing or incorrectly installed saddle flashing at the high side of the skylight; and counter-flashing that has separated or was never correctly integrated with the step flashing below. All three are installation errors, not product failures.
Reflashing vs. Skylight Replacement
If the skylight frame and glass are intact, a reflashing is the correct repair. Reflashing involves removing the shingles around the skylight, removing the failed flashing, and installing a completely new flashing system correctly. The skylight unit stays in place.
Skylight replacement — removing and replacing the full unit — is the correct approach when the frame is damaged, the seal has failed (fogged glass), the unit is obsolete, and replacement flashing is unavailable, or the skylight is being repositioned or resized. We assess which scope is appropriate at the estimate visit.
Condensation vs. Leak — How to Tell the Difference
Moisture on the interior of a skylight frame or on the ceiling around a skylight is not always a roof leak. Condensation forms when warm, humid indoor air contacts the cold skylight frame or glass in winter — it is a humidity and ventilation problem, not a water infiltration problem.
How to tell the difference: condensation is worst on cold mornings and dries as the day warms; it appears on the frame and glass surface uniformly. A leak produces staining or dripping that correlates with rain events, and the water origin is typically at a specific point (corner, side, or the high edge of the skylight). We diagnose the specific cause at the assessment visit before recommending any repair.
Skylight Leak Repair in Portland — Our Process
We assess the flashing condition from the exterior — inspecting step flashing integration, counter-flashing condition, saddle flashing at the high side, and sealant at all joints. We also inspect from the attic: water staining on the framing indicates where water has been tracking, which often differs from where it appears inside. We provide a written assessment of the leak cause and a fixed-price repair scope before any work begins. Reflashing is performed to the manufacturer's full specification — not just the point of visible failure.
Serving Portland Metro Area
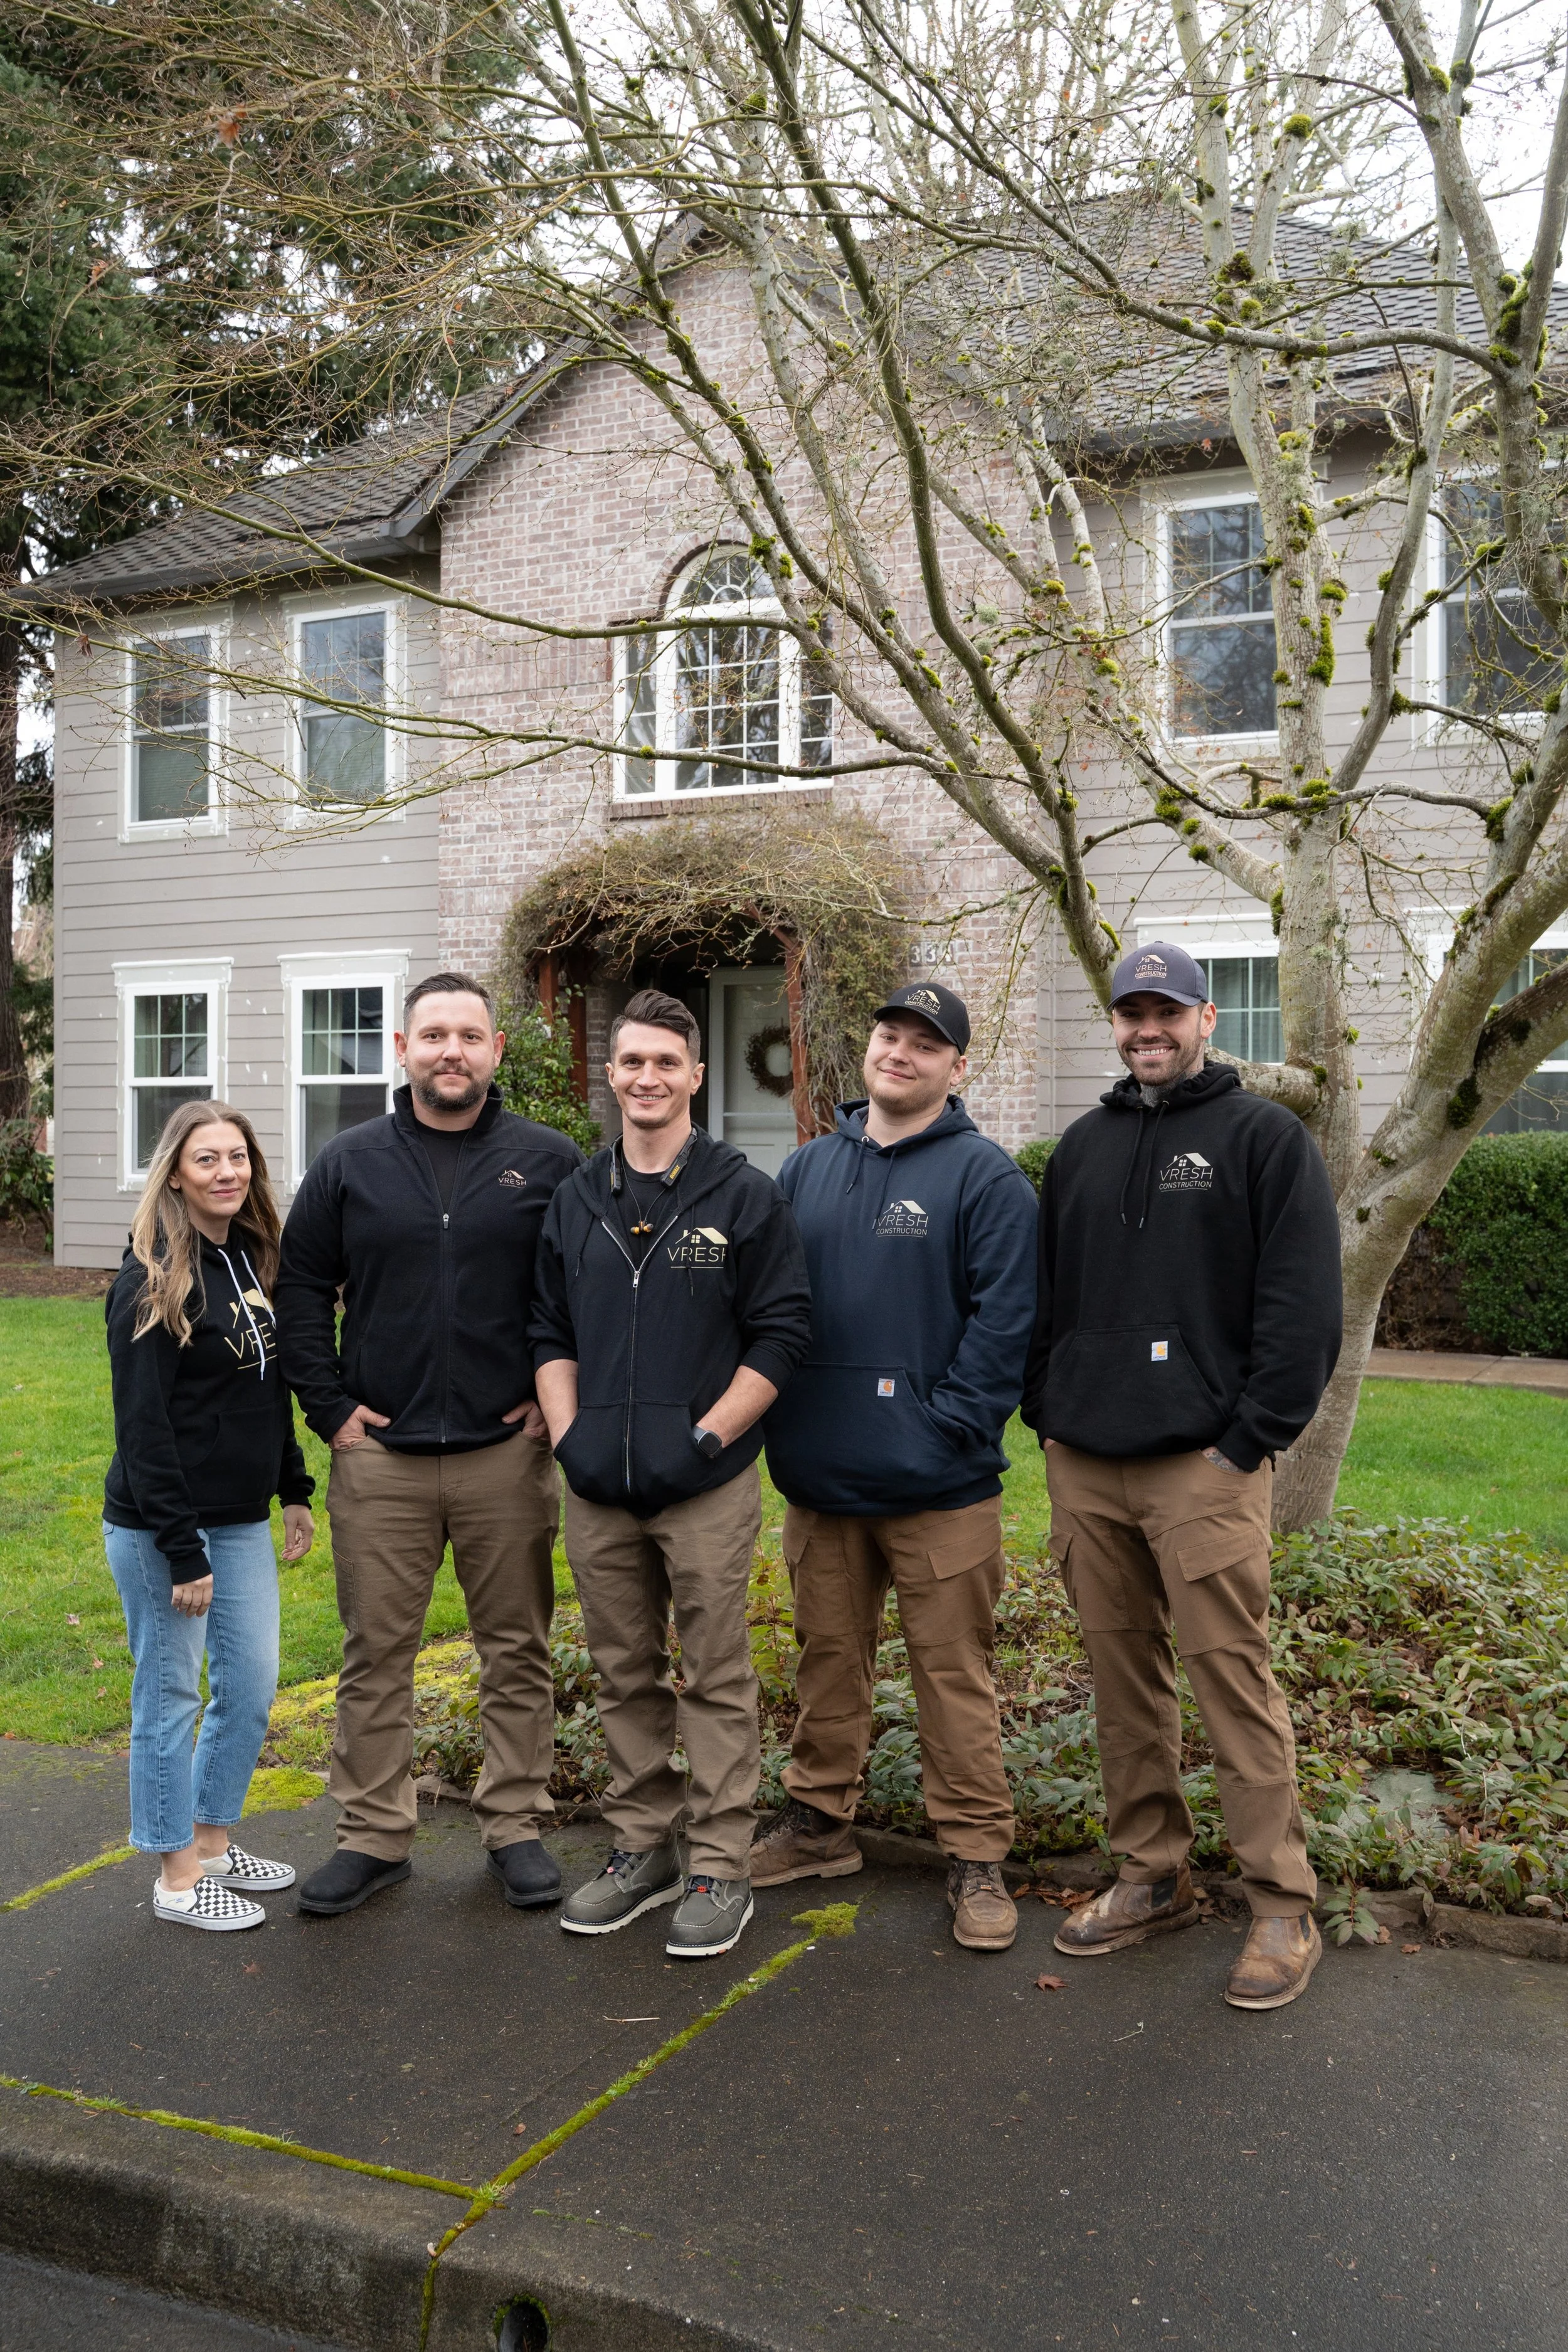
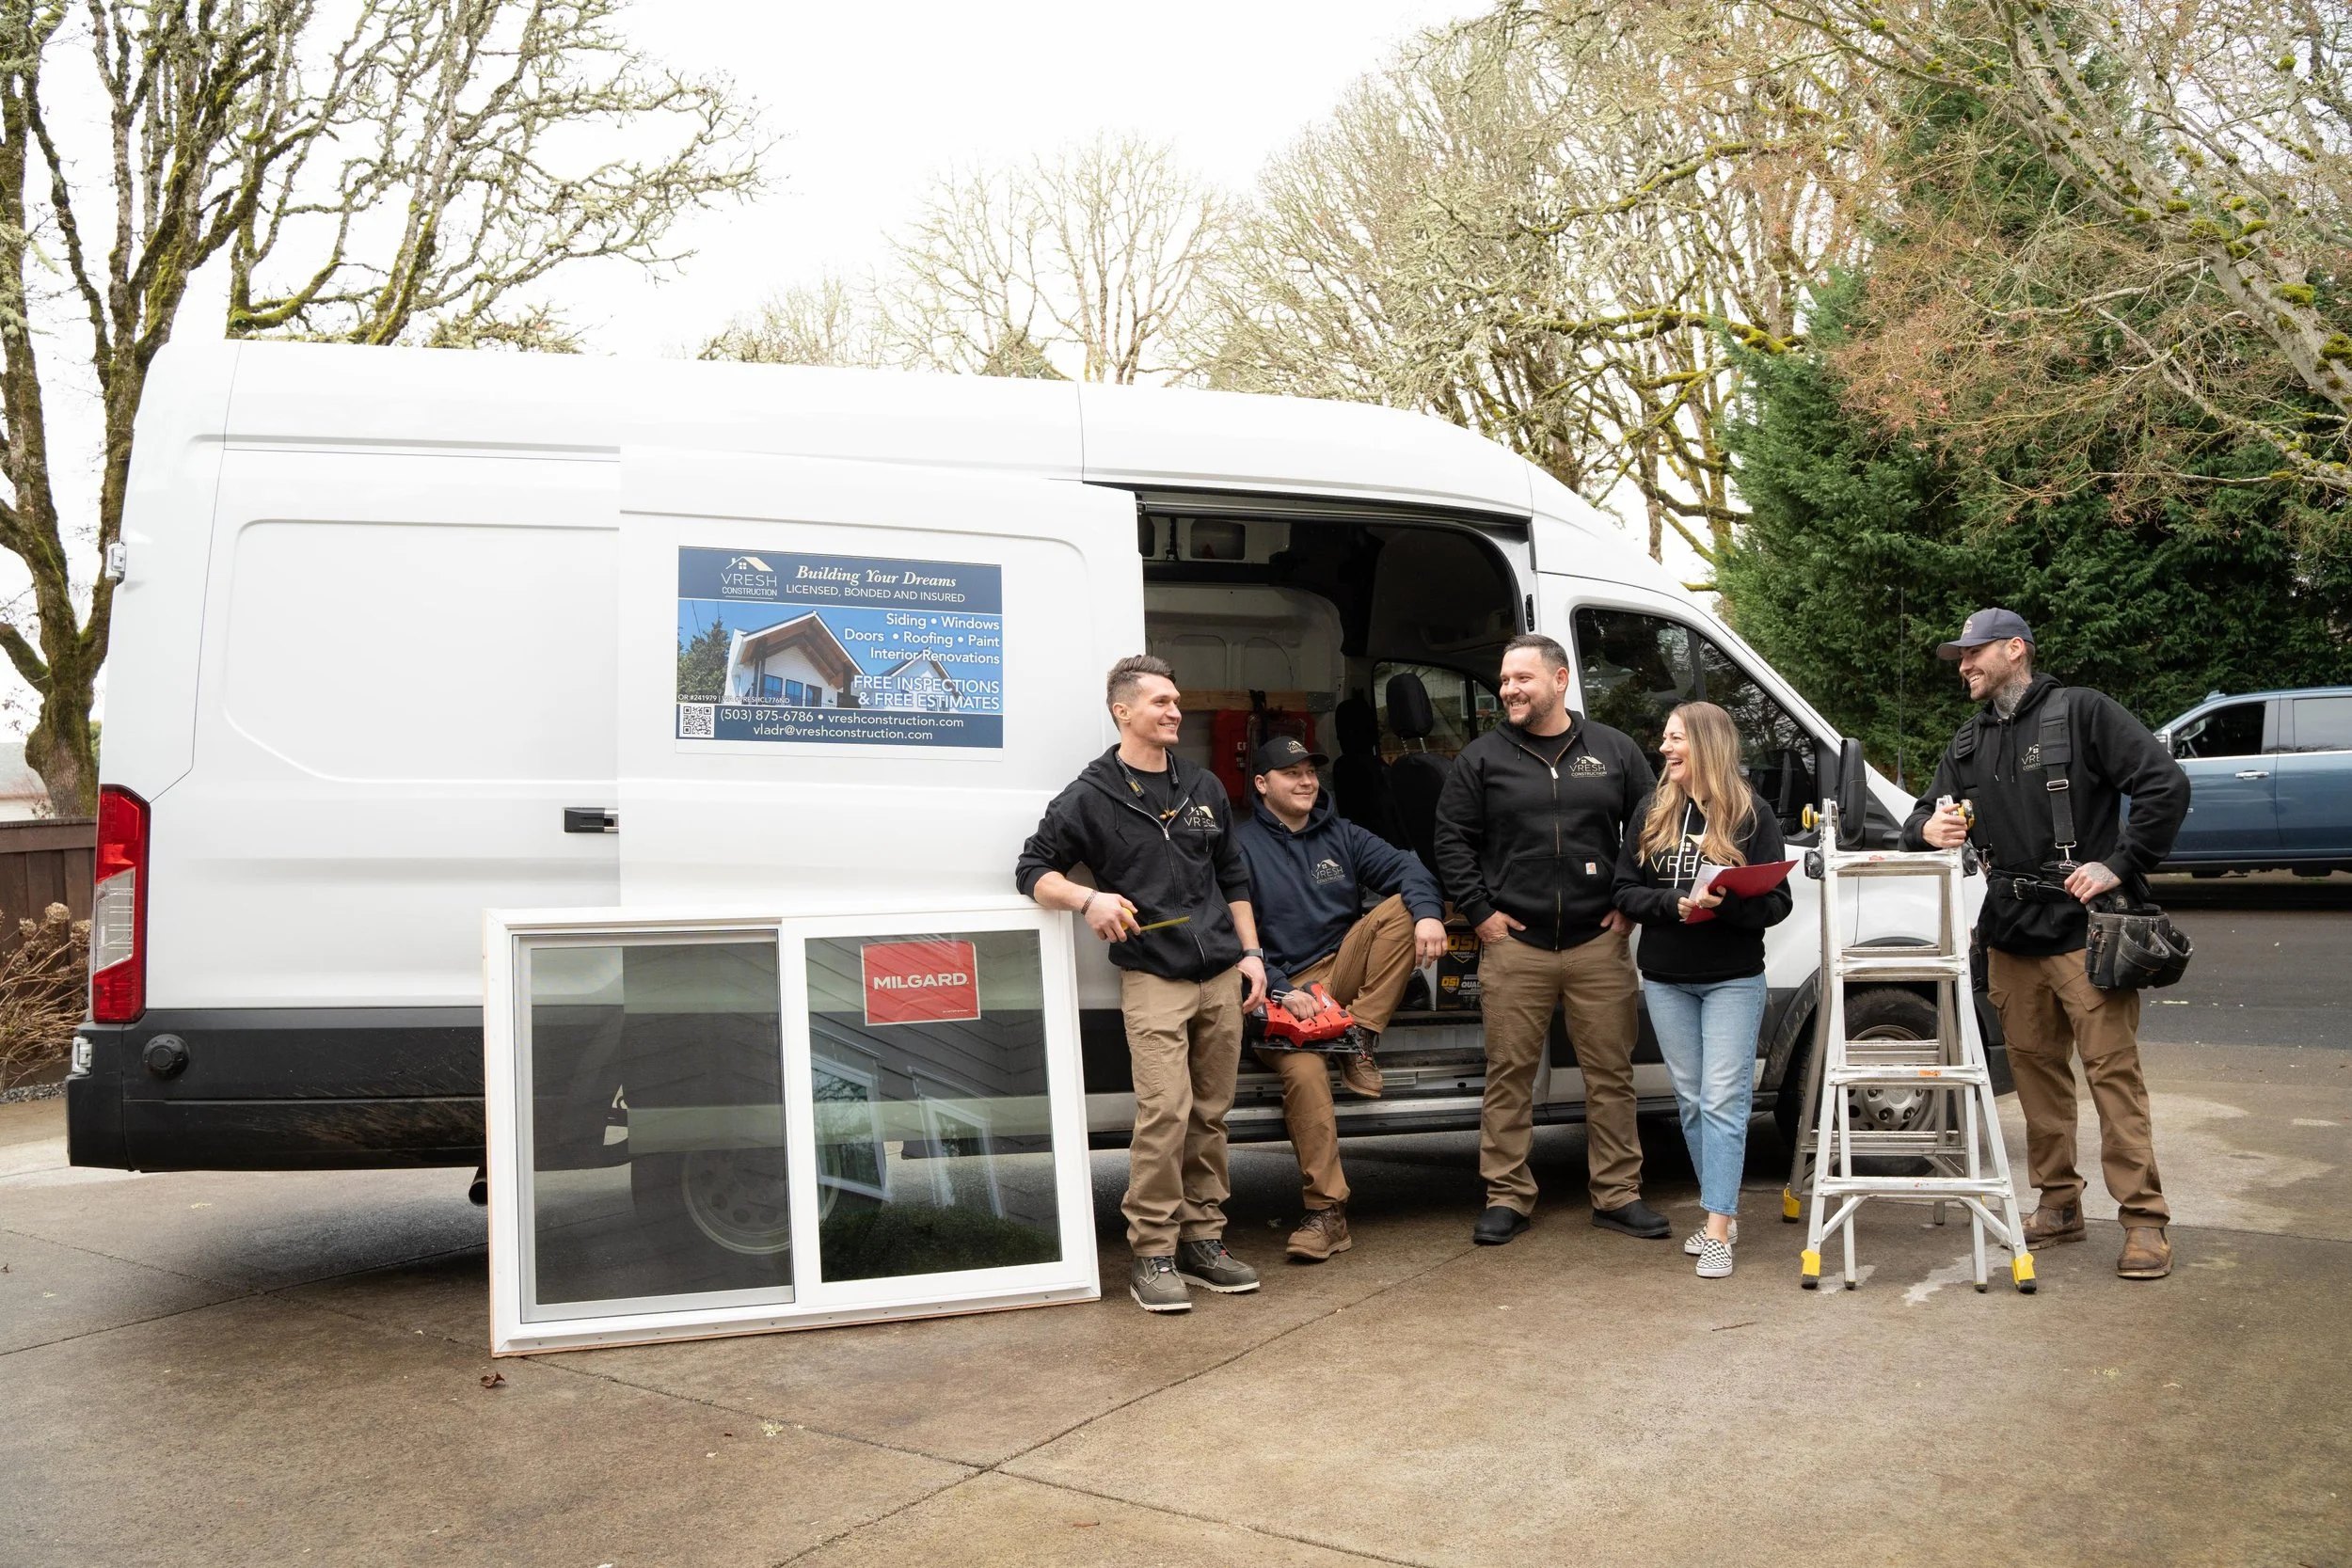
VResh Construction provides window replacement, siding installation, roofing, dry rot repair and full exterior renovation services throughout the Portland metro area and Southwest Washington.
Portland Metro — Oregon
Southwest Washington
Extended Service Areas
(503) 272-6436 — Call or Text, Available 24/7
We answer calls and texts at any hour. For storm damage, active leaks, or structural emergencies, calling directly is the fastest path to a response.
Skylight Installation FAQs — Portland Homeowners


Client's Talk
We have a wealth of experience working as main building contractors on all kinds of projects, big and small, from home maintenance and improvements to extensions, refurbishments and new builds.
Get a Free Andersen Window Estimate
Vlad comes out, assesses every opening, and gives you a straight written quote — no sales pressure, no commitment required.
✓ Same-day response on all estimate requests
✓ No commission-based sales — just honest quotes
✓ Licensed OR #241979 · WA #VRESHCL776ND
✓ EPA Lead-Safe Certified for pre-1978 homes
✓ All major window brands available — we let you choose