
Vinyl Siding Installation in Portland, OR
Dutch Lap, Beaded, Board & Batten & Shake Options. Full Tear-Off Standard. Correct WRB & Flashing on Every Install. Dry Rot Repair Included When Found. Licensed OR #241979.

Vinyl siding is Portland’s most practical low-maintenance exterior cladding option — it does not rot, does not require painting, and handles the city’s 7–8-month wet season without the moisture absorption issues that affect wood siding. VResh handles the full vinyl siding installation: full tear-off to the sheathing, WRB inspection and replacement, dry rot repair where found, correct flashing at all wall junctions and penetrations, and panel installation with the correct nailing technique to allow for thermal expansion.
The WRB and flashing behind the siding are what actually protect a Portland home from moisture damage — not the vinyl panels themselves. Vinyl siding is designed to allow wind-driven rain to penetrate behind the panel face. The weather-resistive barrier catches that water and directs it out. Installing new vinyl over a failed or absent WRB — which is common when siding is installed as a cover-over rather than a full replacement — produces sheathing and framing moisture damage within a few Portland rain seasons. Full tear-off is standard on every VResh siding project so we can inspect and restore the WRB correctly.
Vinyl Siding Styles for Portland Homes
|
Dutch Lap (Clapboard)
|
The most common vinyl siding profile in Portland — a horizontal panel with a notched top edge that creates a shadow line between courses, replicating the look of traditional lapped wood clapboard. Available in 4-inch, 5-inch, and 6-inch exposures. The standard choice for Portland ranch homes, colonial revivals, and most post-1960 residential construction. Widely available in a broad color range from all major manufacturers. |
|
Beaded Seam
|
A Dutch lap variant with a small, rounded bead at the bottom of each panel course. The bead adds a period-appropriate detail that suits Portland's Victorian-era and Craftsman-era homes, where a traditional siding profile is appropriate. Beaded seam vinyl reads more formal than standard Dutch lap and is a practical choice when fiber cement or wood would be the historical material, but the budget favors vinyl. |
|
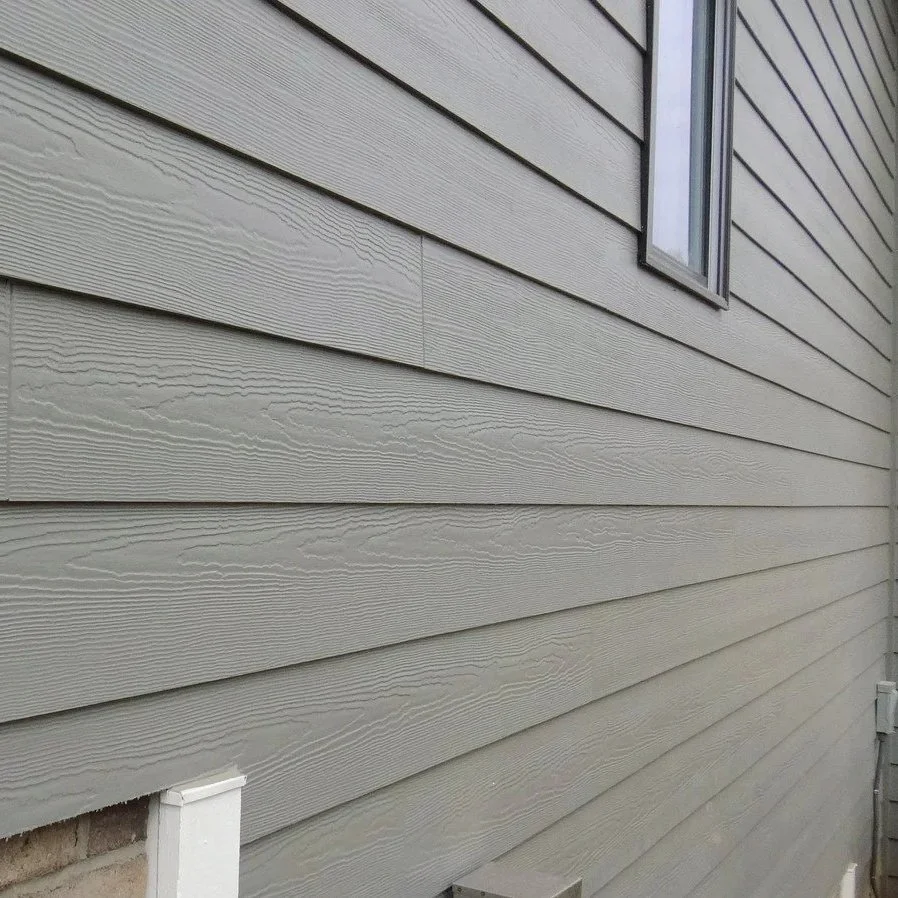
Board & Batten (Vertical)
|
Vertical panel siding with alternating wide boards and narrow batten strips. Used as a full-house siding option on contemporary and farmhouse-style Portland homes, and frequently used as an accent on gable ends, dormers, and lower wall sections to create visual contrast with horizontal siding above. Vertical installation requires a horizontal strapping layer over the WRB to create a nailing surface at the correct spacing. |
|
Shake & Shingle
|
Vinyl panels molded to replicate the texture and shadow of cedar shingle or shake siding. Used on gable ends, dormers, and accent sections on Portland Craftsman bungalows and colonial revival homes, where the original shingle detail is part of the home's character. Available in staggered-cut and straight-cut profiles. Shake vinyl is thicker than standard flat panel vinyl and more dimensionally stable. |
|
Insulated Vinyl Siding
|
Standard vinyl panel with a factory-applied expanded polystyrene (EPS) foam backing that fills the hollow space behind the panel. The foam backing increases rigidity (reducing the hollow sound and flex of standard vinyl), improves the panel's thermal resistance, and provides a more solid feel underhand. R-values are modest (R-2 to R-4), but the thermal bridging reduction across the stud bays can meaningfully reduce wall heat loss in Portland's climate. |

Vinyl Siding in Portland’s Climate — What to Know
Low-Maintenance in Portland's Wet Climate
Vinyl siding does not rot, does not absorb moisture, and does not require painting. For Portland's 7–8-month wet season, these properties are significant — the primary failure modes of wood and fiber cement siding (paint failure, moisture infiltration at joints, rot at the bottom course and around penetrations) do not apply to vinyl. Annual cleaning with a garden hose is the primary maintenance requirement.
Color-Through Construction — No Paint Required
Vinyl siding color is integral to the material — it does not require painting and does not peel. Scratches and chips expose the same color throughout the panel thickness, which means minor damage is not visible at normal viewing distances. Vinyl siding will fade over decades of UV exposure, but modern vinyl products with UV-stabilized formulations maintain color significantly longer than products from 20 years ago.
Vinyl vs. Fiber Cement in Portland
Fiber cement siding (James Hardie, LP SmartSide) is also widely used in Portland and has real advantages over vinyl: it is harder, more impact-resistant, holds paint better (though it does require painting), and is more dimensionally stable in temperature extremes. Vinyl has the advantage of price and maintenance — it is typically 30–50% less expensive installed than fiber cement, and requires no painting over the life of the material.
For Portland homeowners choosing between the two: if budget is the primary driver and the home is not in a high-impact or high-UV-exposure situation, vinyl is a practical choice. If impact resistance, paint color flexibility, or long-term appearance are priorities, fiber cement is the better investment. Vlad will give you a straight comparison at the estimate visit — we install both.
Portland's Moisture — The WRB Is What Actually Matters
The siding itself is not the primary moisture barrier on a Portland home — the weather-resistive barrier (WRB) behind the siding is. Vinyl siding laps and joints allow wind-driven rain to penetrate behind the panel face — this is expected and by design. The WRB — housewrap or building paper — is what catches that water and directs it down and out.
Installing new vinyl siding over failed or absent WRB is one of the most common mistakes in siding installation. When we remove existing siding, we inspect the WRB condition fully and replace damaged or missing sections before installing new panels. A new siding job over a failed WRB will produce moisture damage to the sheathing and framing within a few Portland rain seasons.
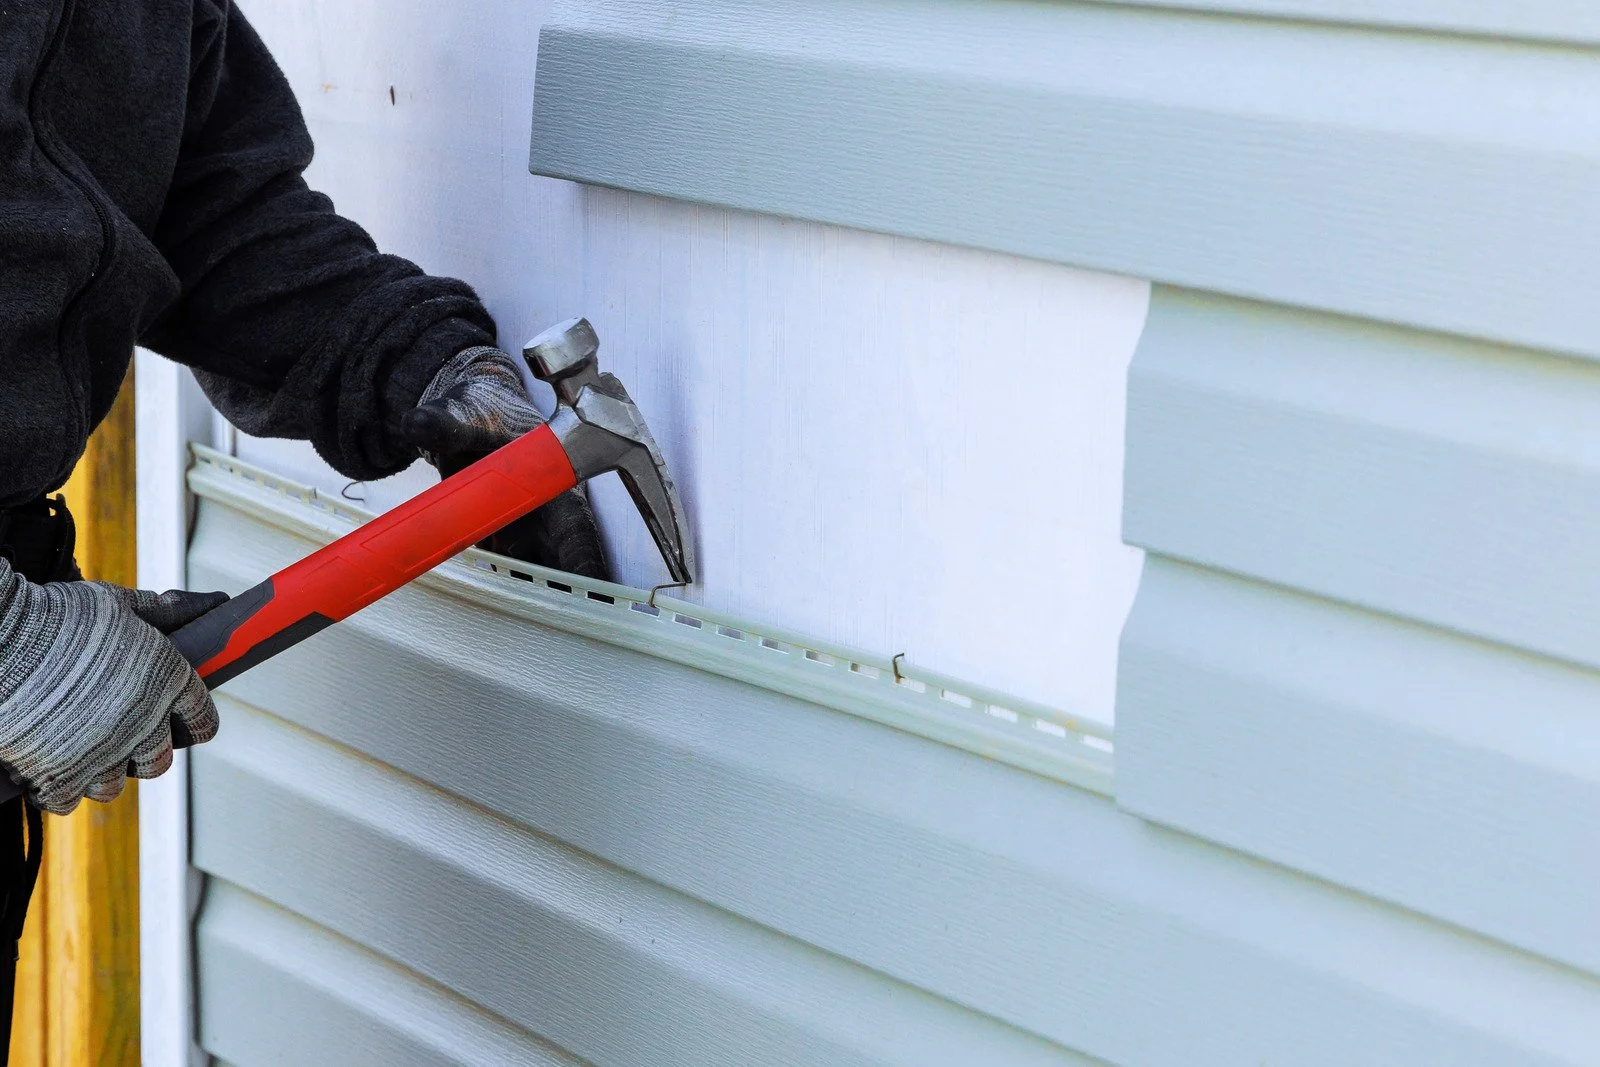
Vinyl Siding Installation — What the Project Involves
Common Vinyl Siding Failures in Portland — What to Watch For
Buckling and Warping — Nailed Too Tight
Vinyl siding that buckles, waves, or warps is almost always installed with fasteners driven too tight. Vinyl expands and contracts significantly with Portland’s temperature range — a full wall of vinyl can move 1/4 inch or more across its annual temperature cycle. Panels must be nailed at the center of the nailing slot, never driven home, to allow this movement. Face-nailed panels have no room to move and buckle within one or two seasonal cycles. This is an installation error, not a product defect.
Moisture Behind the Siding — WRB Failure
Moisture damage to sheathing and framing behind vinyl siding is the most consequential failure mode and the hardest to detect until it is advanced. It originates from failed or absent WRB, incorrect flashing at wall-to-roof junctions (the most common point), or missing kick-out flashing that allows water running off the roof to run behind the siding at the wall-to-eave junction.
Vinyl siding does not cause this problem — it is the installation conditions behind the siding that do. Correct WRB installation, complete flashing at all wall junctions, and kick-out flashing at every eave-to-wall intersection prevent it.
Fading and Chalking Over Time
All vinyl siding fades with UV exposure over time — south and west-facing elevations fade faster than north-facing walls. Modern UV-stabilized vinyl products fade more slowly than products from 20 years ago, but no vinyl product maintains its original color indefinitely. Chalking — a powdery residue on the surface from UV degradation of the pigment — is a normal end-of-life indicator. When fading is severe or chalking is significant across the full wall, replacement is the practical solution — vinyl siding cannot be painted reliably.
Cold-Weather Cracking
Standard vinyl siding becomes brittle in cold temperatures and can crack if impacted. Portland’s freeze-thaw winters are mild compared to the US interior, but cold snaps in January and February can bring temperatures into the low 20s°F — cold enough for standard vinyl to become brittle. Premium vinyl products with higher-impact formulations perform better in cold conditions. Insulated vinyl, which has a foam backing that buffers impact through the panel, also resists cold-weather cracking better than hollow-back standard vinyl.
Serving Portland Metro Area
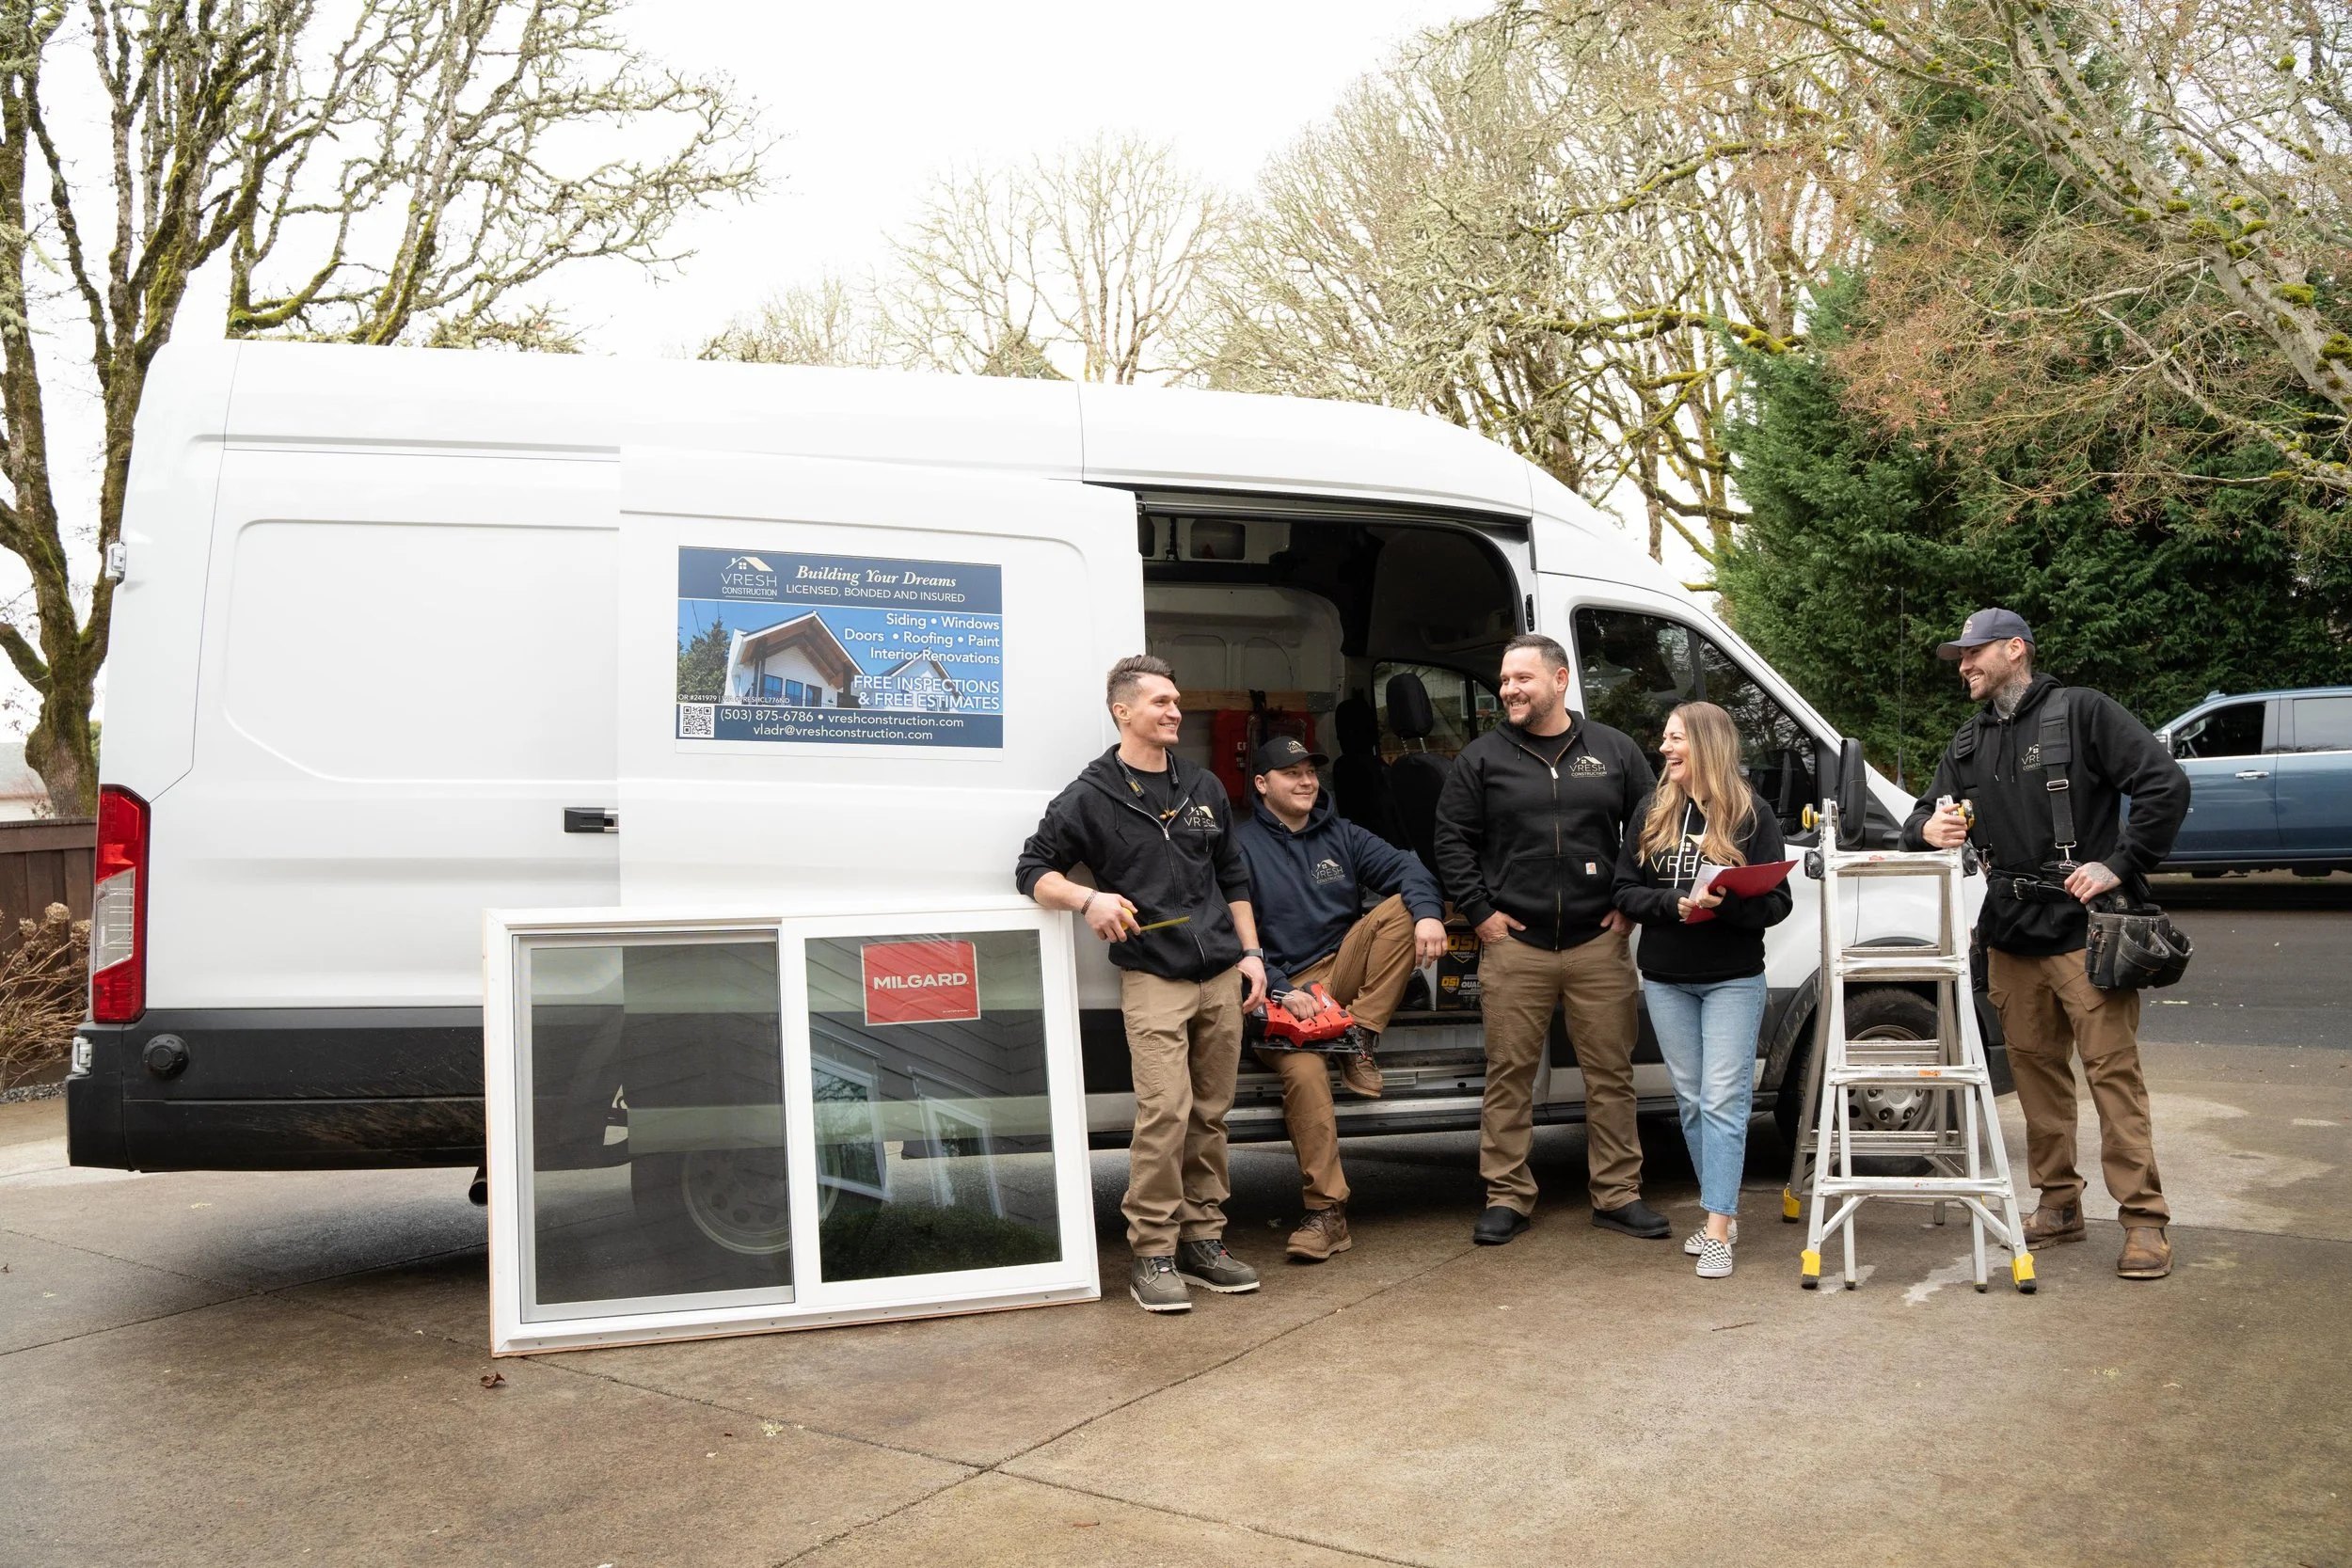
VResh Construction provides window replacement, siding installation, roofing, dry rot repair and full exterior renovation services throughout the Portland metro area and Southwest Washington.
Portland Metro — Oregon
Southwest Washington
Extended Service Areas
(503) 272-6436 — Call or Text, Available 24/7
We answer calls and texts at any hour. For storm damage, active leaks, or structural emergencies, calling directly is the fastest path to a response.
Vinyl Siding FAQs — Portland Homeowners


Client's Talk
We have a wealth of experience working as main building contractors on all kinds of projects, big and small, from home maintenance and improvements to extensions, refurbishments and new builds.
Get a Free Andersen Window Estimate
Vlad comes out, assesses every opening, and gives you a straight written quote — no sales pressure, no commitment required.
✓ Same-day response on all estimate requests
✓ No commission-based sales — just honest quotes
✓ Licensed OR #241979 · WA #VRESHCL776ND
✓ EPA Lead-Safe Certified for pre-1978 homes
✓ All major window brands available — we let you choose